One of the great advantages of storing your backup data in the NTBackup format is that you are not required to have BackupAssist installed to restore your data. The functionality for restore is built into Windows in the form of the Windows Backup Utility (NTBackup.exe).
To restore data with NTBackup:
- Click
 Restore in the navigation bar.
 - Click Restore using NTBackup. NTBackup will then launch and you should be taken directly to the Restore and Manage Media tab.
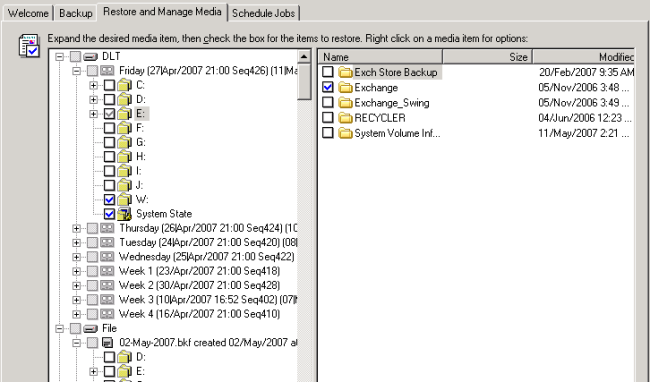
- A catalog of all backups performed using NTBackup should appear in the left pane of the restore window.
- If a catalog is missing or you are unsure which catalog is the correct one:
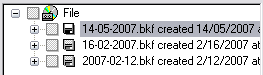
- If your backup data is located on disk-based storage (NAS, external hard drive, etc) click Tools > Catalog a backup file and browse to the location of the backup file. The relevant catalog should now appear as a bolder icon in the catalog list:
- If your backup data is on tape and the catalog is missing, insert the tape and NTBackup should automatically re-catalog the tape and display it in the catalog list.
- Expand the appropriate backup catalog using the
 icon and select the data you wish to restore by checking tick-boxes to the left of any drives or resources (such as the system state). You can also expand each listing to select or deselect individual files or folders.
 - Choose where to restore the data using the Restore files to drop-down menu:
- Original location
Files will be restored to their original location (where they were originally backed up from). - To determine what action NTBackup takes when attempting to restore files that already exist in the original location click Tools > Options > Restore.
- Alternate location
Files will be restored to alternative location that you can specify. The folder structure of the restored data within the alternate location will be the same as that of the original data (same folder and sub-folder setup). - Single folder
Files will be restored to alternative location that you can specify. All files will be restored to a single folder. The folder structure of the original data is lost (all data from folders and sub-folders are extracted to a single folder instead).
- Click Start Restore.
- If you need to set any advanced restore options click Advanced, otherwise click OK to begin the restore process.
- If you need any assistance with advanced restore settings consult the NTBackup help file.