Back up SharePoint
This guide explains how to back up files on a SharePoint Server to a local or network destination.
To create a SharePoint backup task:
- Open BackupAssist 365.
- Select Create new from the left menu.
- Click the SharePoint tile.
- Name your task.
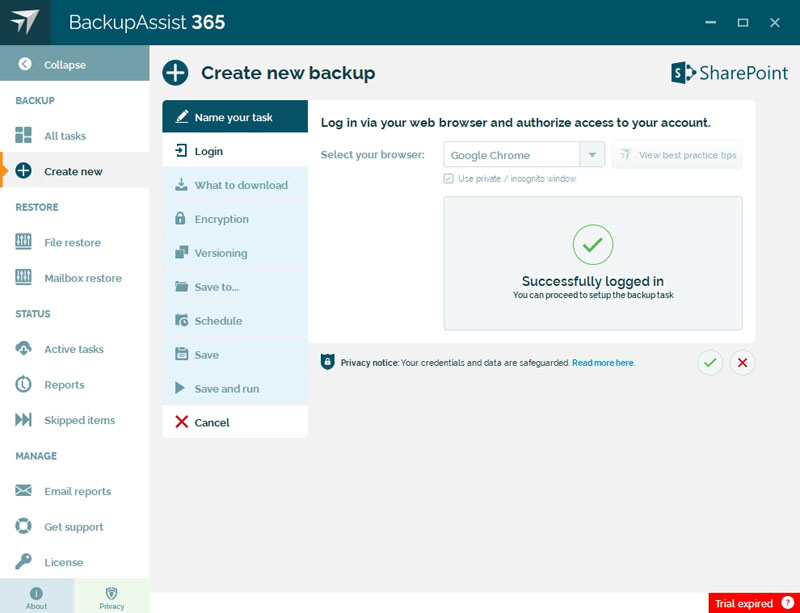
- Login.
- Select the web browser that you want to use.
- Click Launch browser to login.
- Type the backup account's username and password into the fields provided.
- Close the web browser after you see the Your sign in was successful message.
- Click the tick to save and proceed to the next step.
- What to download.
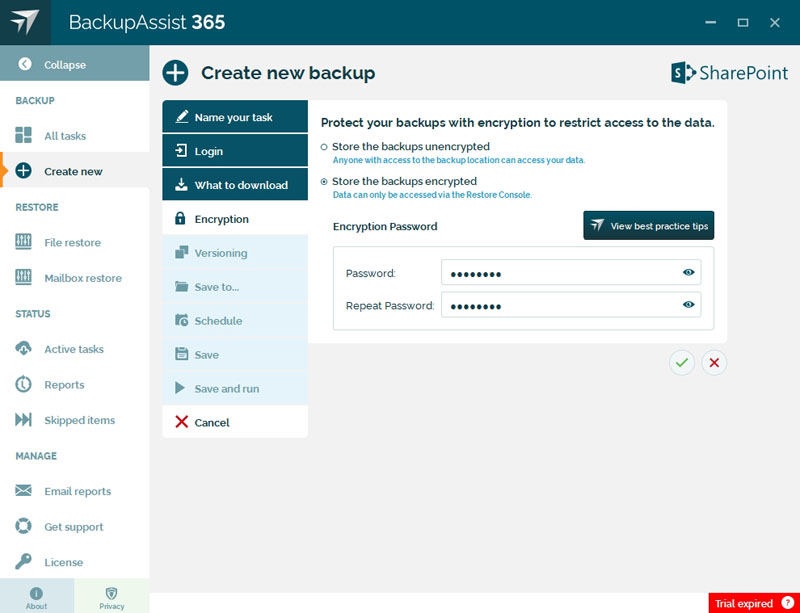
- Encryption.
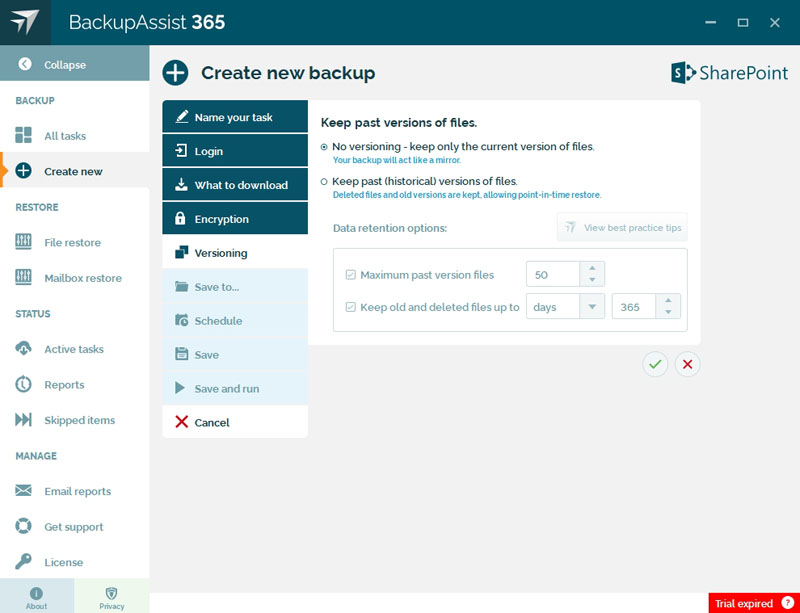
- Versioning.
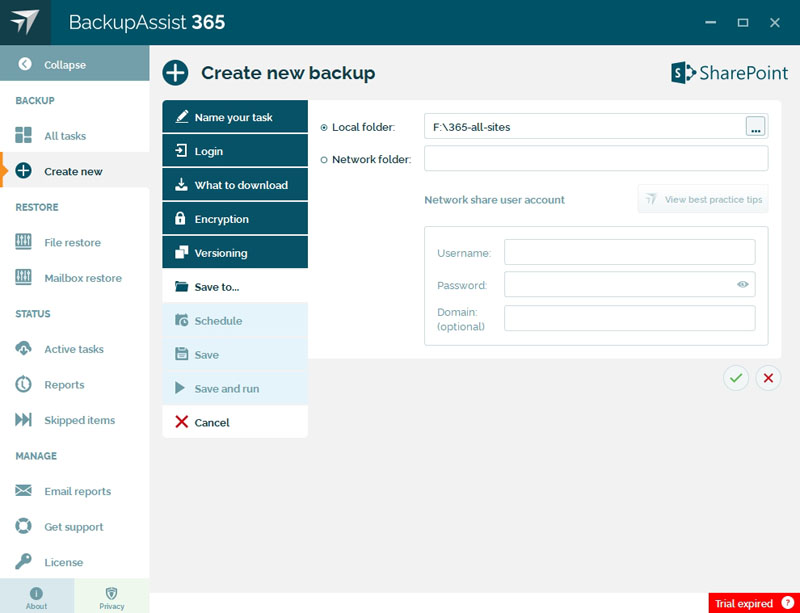
- Save to...
- Enter a Local folder or Network folder location into the fields provided.
- Click the tick to save and proceed to the next step.
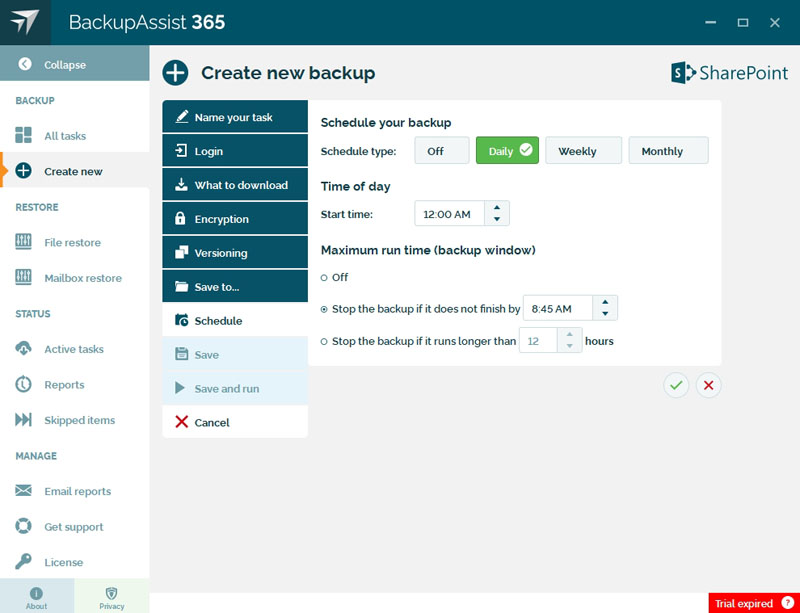
- Schedule.
- Choose a Schedule type to set how often the backup task will run.
- Set a Start time for the task.
- Click the tick to save and proceed to the next step.
- Save and run.
- Click Save and your task will run at the scheduled time.
- Click Save and run to save the task and run it now.

Enter a name for the task into the field provided.
This step is used to provide credentials for the account that BackupAssist 365 will use to access and back up the SharePoint Server. This account should only be used for this backup task and have access to the SharePoint files that you want to back up.
To login to the SharePoint Server:
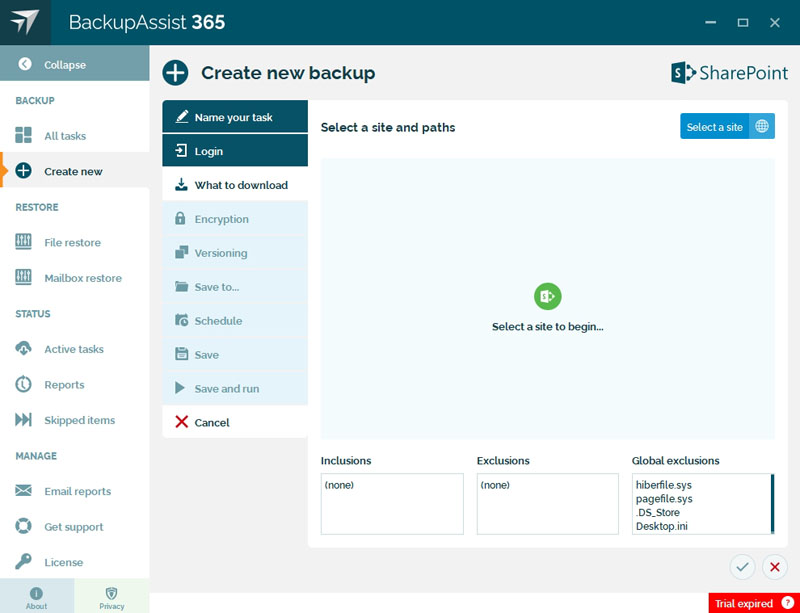
This step is used to select the files and folders you want to back up.
To select the files and folders:
a. Click the Select a site button.
b. Select the SharePoint site.
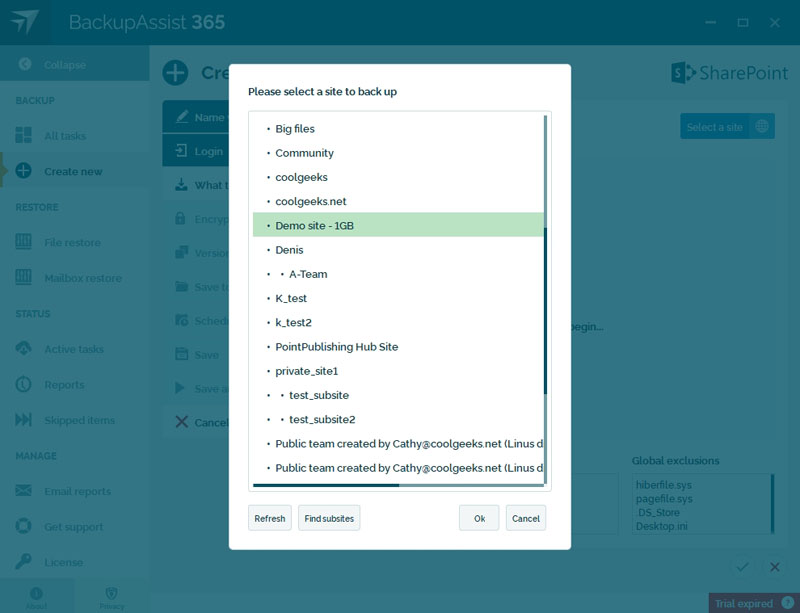
Subsites
Any available subsites can be discovered and selected by clicking Find subsites, which will displayed the subsites the backup user has access to. The backup report will show a summary of the subsites selected for backups that contain files. Note, it may take some time for the SharePoint permissions to be synchronised.
c. Select the files and folders you want to back up.
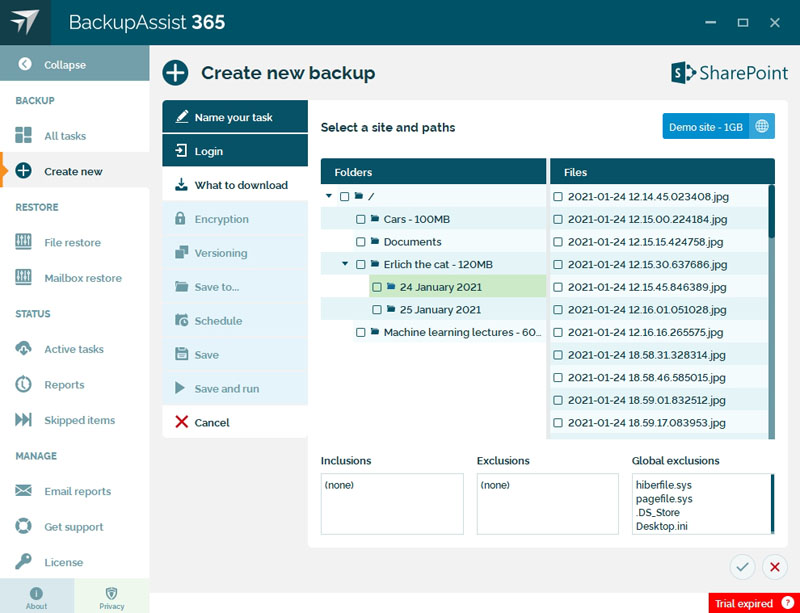
d. Click the tick to save and proceed to the next step.
If you want to encrypt this backup, select Store the backups encrypted and enter a password into the fields provided. You will be prompted to provide this password if you perform a restore using this backup.
By default, BackupAssist 365 creates a mirror copy of your SharePoint files. You can also maintain copies of deleted files and different versions of modified files by selecting Keep past (historical) versions of files.
Keeping copies of deleted files and older versions of existing files can dramatically increase the amount of storage required. Use the Data retention options to limit the amount of historical data backed up.
Where you store your backups is an important consideration. The location should be secure and have room for the backups to grow as more data is backed up.
To set the backup destination:
Network folder allows you to use a network share or NAS device and may require the credentials of an account with access to that folder.
Note: While a network share is convenient, if it's not set up with adequate security measures it can pose a data breach risk. To create a best practice network destination, see Backing up your Office 365 to a Network Share
It's best to run the backup task when users are not using their data, so by default the task will start at midnight. You can use the Maximum run time options to stop the backup task from running at a time when users are accessing their data.
To set up your backup schedule:
Did you find this helpful?
Sorry about that
Why wasn't this helpful? (check all that apply)
Thanks for your feedback.
Want to tell us more?
Support requests are not logged from this dialog. If you require technical assistance, please contact support.
Great!
Thanks for taking the time to give us some feedback.
Great!
Thanks for taking the time to give us some feedback.
Still need help?
Contact us via phone or email to get the support you need.
Our business hours are Monday - Friday 9am-5pm US Eastern Time.


© 2025. BackupAssist™ and the intellectual property contained
within this document is the property of Cortex IT Labs Pty Ltd.