If your site has suffered a disaster or cyber event and both your backup device and server can no longer be used, you can perform a VM Instant Boot in the cloud. We call this Cloud VM Disaster Recovery (VMDR), and it means you can recover an original server with just a cloud backup, which is stored safely offline, and the credentials to access that backup.
Cloud VMDR process overview
This process is more involved than a standard VM Instant Boot as you need to use a cloud service to perform the recovery, so here is a summary of the steps in this guide.
To perform a Cloud VDMR you will:
- Create a VM in Azure.
- Download a BackupAssist ER BMR-capable cloud backup to the Azure VM.
- Make that backup bootable, by performing a BackupAssist ER “VM Instant Boot” operation.
- Run your backup as a Hyper-V guest.
For a hands-on walkthrough and video of the process, see our Cloud VMDR Challenge..
The Cloud VMDR process
In this section you will create a VM in Azure, set up a Hyper-V Server on that VM and then use BackupAssist ER to download an Azure backup to the VM. After completing these steps, you will be directed to step 2 in the VM Instant Boot guide to complete the process.
Requirements
- An unencrypted Azure cloud backup created with Select items for bare-metal recovery ticked in the job's Files & applications tab.
- A Microsoft Azure account.
To perform a VM Instant Boot in the cloud:
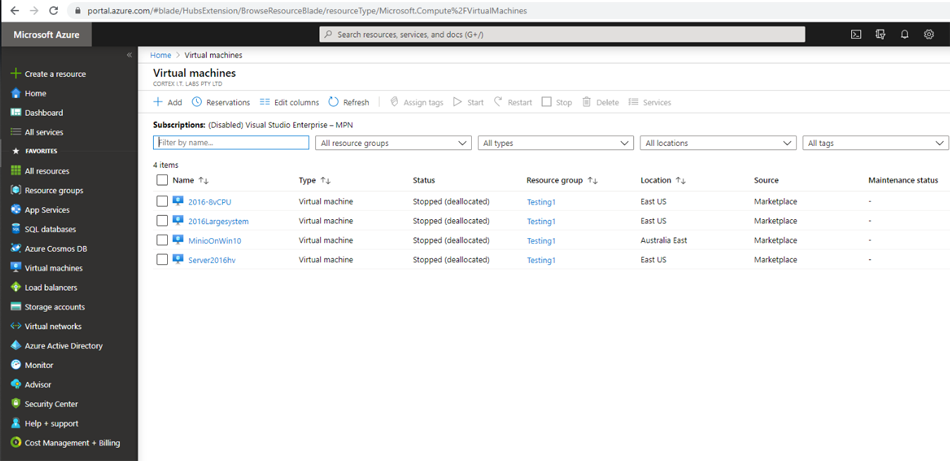
- Log into your Azure account.
- Select Virtual machines from the left menu.
- Select + Add from the top menu.
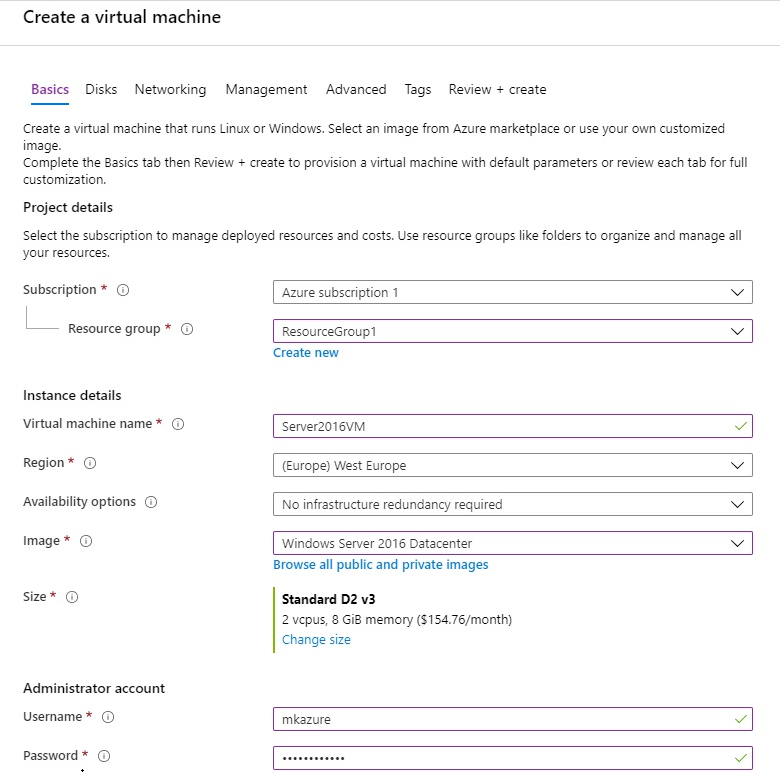
- Proceed through each step on the Create a virtual machine screen and fill in the required fields.
- In the Basics step - Region field: we recommend you create the VM in the same region as your blob storage.
- In the Basics step - Image field: choose Windows Server 2016 Datacenter or Windows Server 2019 Datacenter.
- In the Basics step - Size field: for most recoveries, 16 GB of RAM and an 8 vCPU machine will be adequate. For optimal performance, we recommend a 16 or 32 vCPU machine as explained in the note below.
- In the Advanced step - VM generation selection, click Gen 2.
- In the Review + create step: review each screen's options to ensure they are correct, then click the Create button.
- Start the new VM and Connect to it.
- Log into the VM.
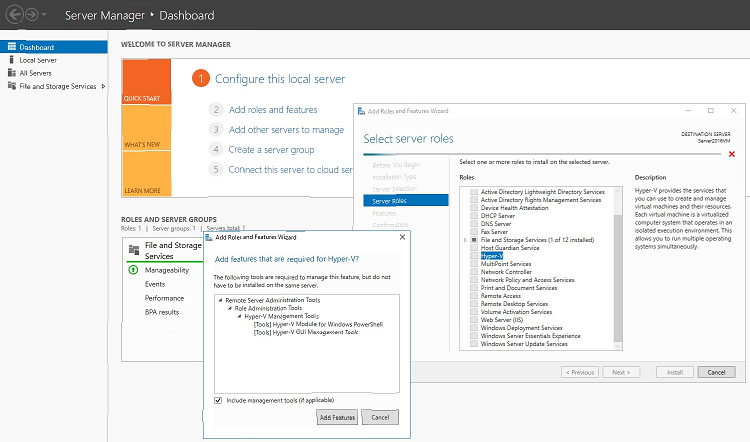
- Open Server Manager and select Add roles and features.
- Tick Hyper-V.
- Click Next and complete the configuration fields for the Hyper-V Server.
- Install BackupAssist ER on the Hyper-V Server.
- Run BackupAssist ER.
- Locate and download the backup.
- Choose the Available Backups tab.
- Click Locate backup.
- Choose Microsoft Azure from the Storage location type field.
- In the fields provided, type in the Container name, Connection string and Encryption password.
- Click Next to connect to the backup.
- Select the backup, and click Download cloud backup.
- Use the Where to download tab to enter a download location.
- Click Download now.
This will open the Create a virtual machine screen.
The following considerations apply to these fields:
Note: Downloading and reassembling a backup involves CPU-intensive tasks. To optimize recovery time, without incurring higher ongoing costs, you can use a powerful 16 or 32 vCPU VM for the download process and a less expensive VM to run the host. To do this, download the backup to an extra data disk, then shut down the powerful VM (when the download has completed), detach the extra disk and create a less expensive VM to act as the Hyper-V Host, and attach the extra disk.
The next steps explain how to set the VM up as a Hyper-V host.
You now have a Hyper-V Server host running in Azure. The next steps explain how to download a backup to this server.
For more information, see Installing BackupAssist ER.
Because this is a new install of BackupAssist ER, you will need to locate and then download the backup.
To locate and download the backup:
Once the backup has finished downloading, follow the steps in the VM Instant Boot guide, starting at Step 2. These steps explain how to make the backup bootable, create a VM in the Hyper-V Host, and boot that VM using the bootable backup.