This capability is no longer available in version 15 and later.
Create a backup quickly
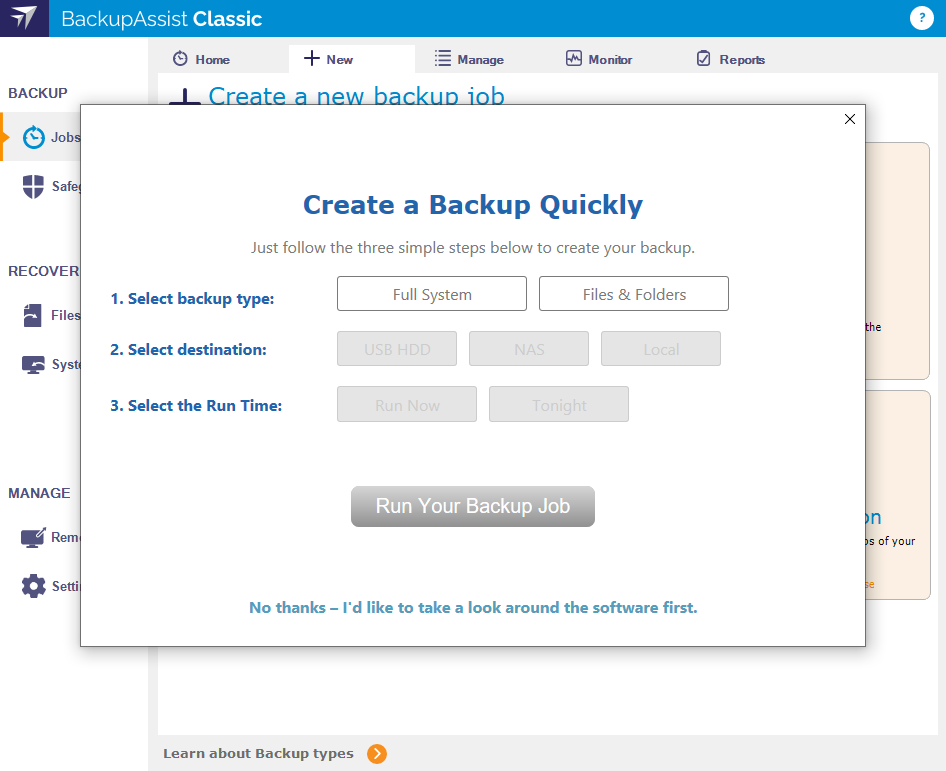
When a new user starts BackupAssist for the first time, the Create a backup quickly screen opens and allows the user to create a File Protection or System Protection backup job. This feature provides a simplified job creation process so that a new or trial user can easily get their first backup job up and running.
For existing users, Create a backup quickly is available from the Help menu.
To create a backup quickly:
- Select backup type Full System or Files & Folders
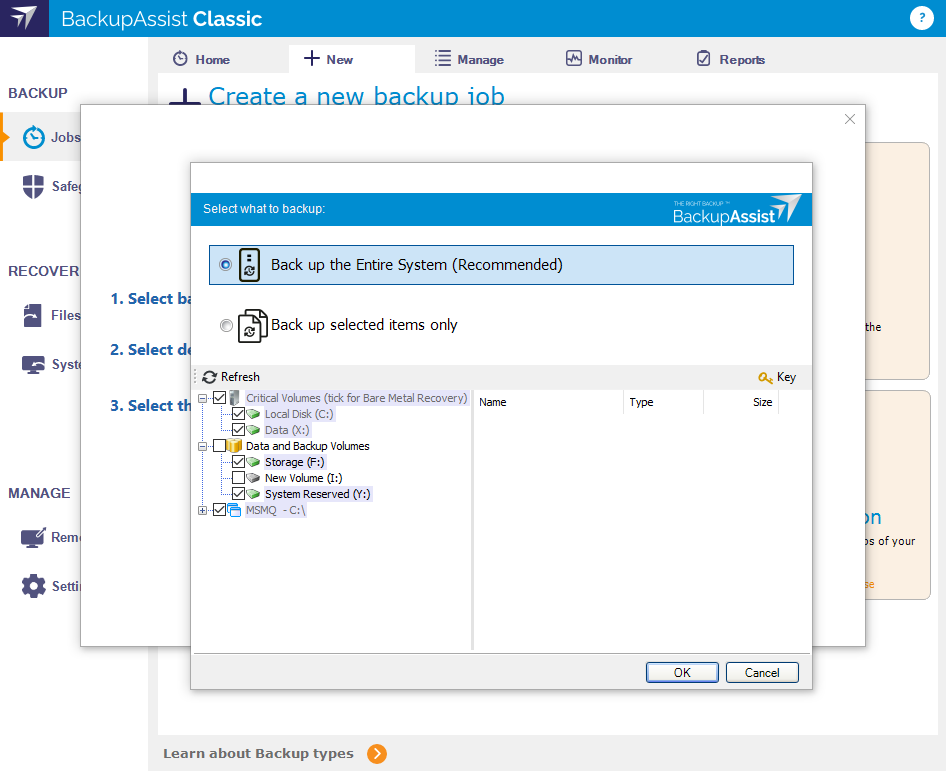
- Full system performs a System Protection image backup that can be used for a System Recovery .
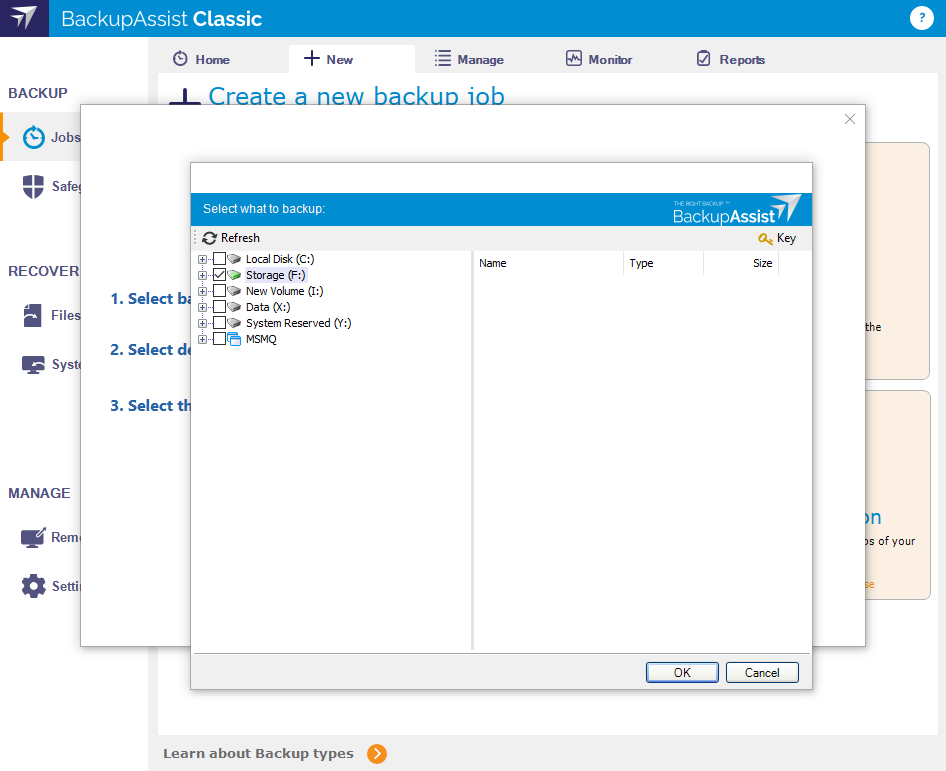
- Files & Folders performs a File Protection replication backup.
- Select destination from the options provided
- Select the Drive Letter from the pop up dialog. The Path on drive field can be left with the default settings.
- Use the Detect button to verify the connection.
- Select Finish.
- Enter the details for a backup user identify into the pop up dialog. This account must have read access to the backup source and read / write access to the backup destination.
- Select Next.
- Enter the network location's server name and a path for where the backup should go. If the destination requires additional credentials, enter them in the fields provided.
- Select the Check Destination button to check the path and credentials.
- Select Finish.
- Select the backup directory using the pop up dialog. The location can be added by browsing to the folder or typing in the path.
- Use the Check destination button to confirm the location.
- Select Finish.
- Select the Run time
- Run Now sets the backup job to run when you complete the creation steps.
- Tonight will schedule the backup job to run at 10.00 pm each night Monday to Friday.
- Selecting Run Your Backup Job will run the job as selected in step 3.
USB HDD (directly attached USB drive)
NAS (A network location or NAS device)
Local (local internal drive)
See, the manage section if you want to change any of the details provided once the job has been created.
Note: If you do not want to create a job, select No thanks - I'd like to take a look around the software first, or select the X at the top right


