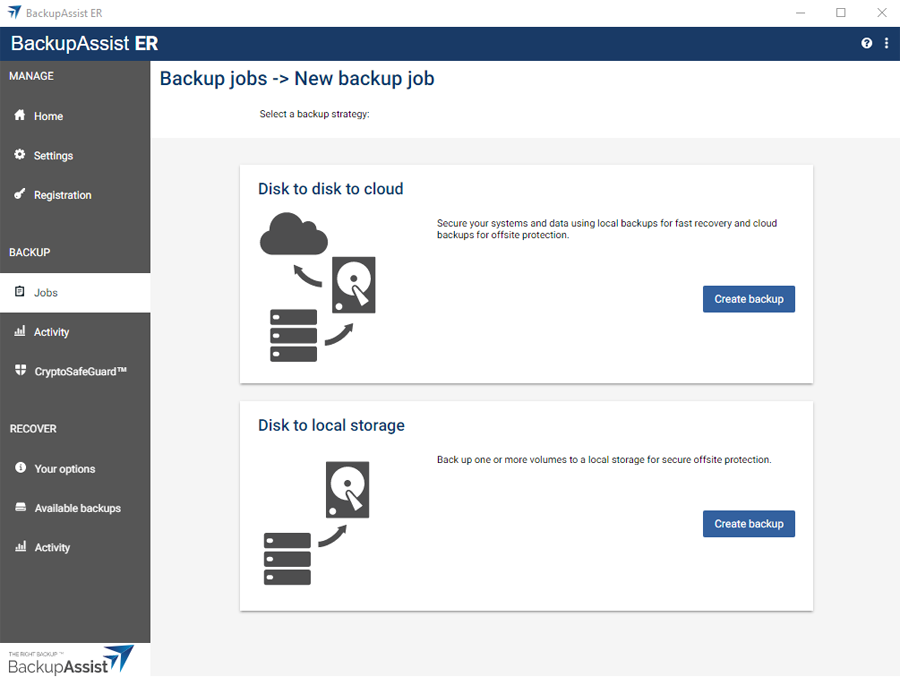
Disk to local storage (D2D) is a backup option that saves data locally (on-premise) and does not replicate the backup to a cloud destination. This backup type is ideal for non-production servers and for backing up data that is not critical, or as an additional backup alongside a Disk to disk to cloud (D2D2C) backup. We always recommend Create a local and cloud backup backups for servers that need to be cyber-resilient as explained on our The right backup page.
To create a Disk to local storage backup job:
- Select the Jobs tab.
- Select New from the Jobs tab menu.
- Select Create backup from the Disk to local storage section.
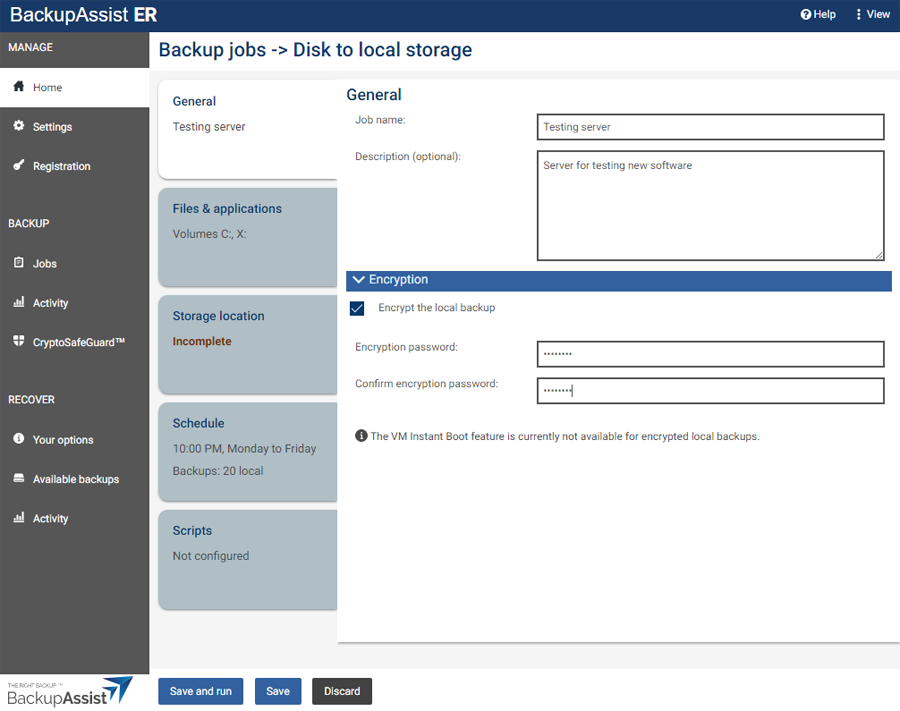
- Fill in the General tab.
- Job name - enter a name for this backup job.
- Description - you can add a description to help identify or classify the job.
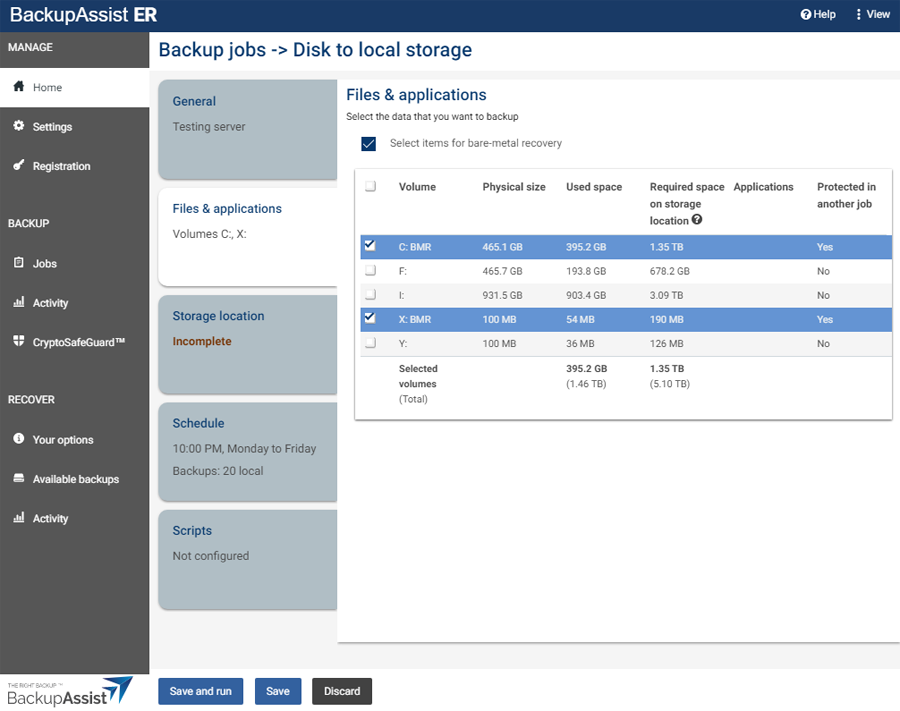
- Select the Files & applications tab.
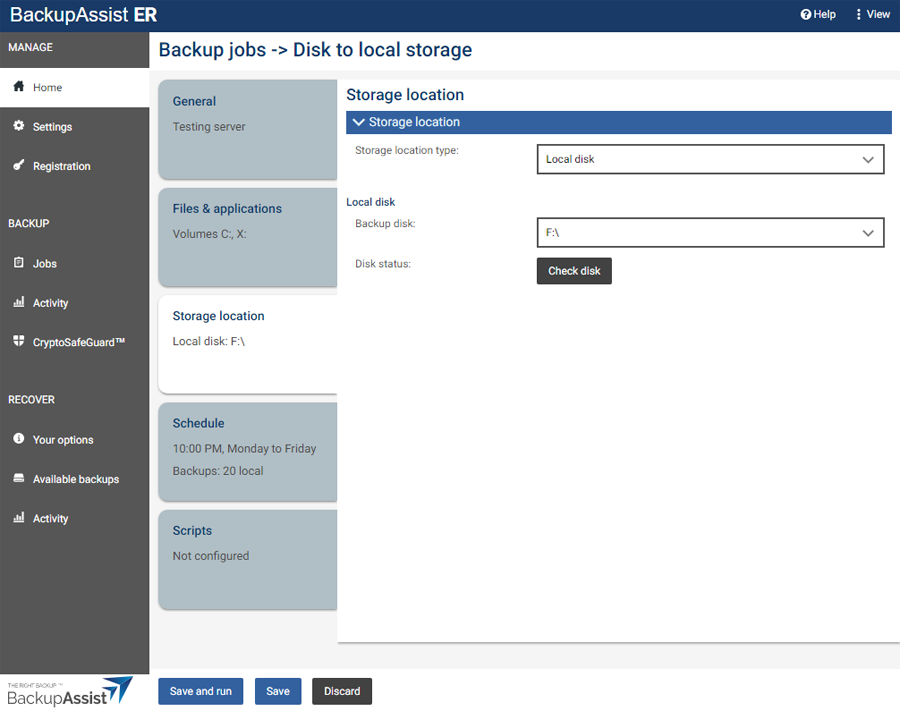
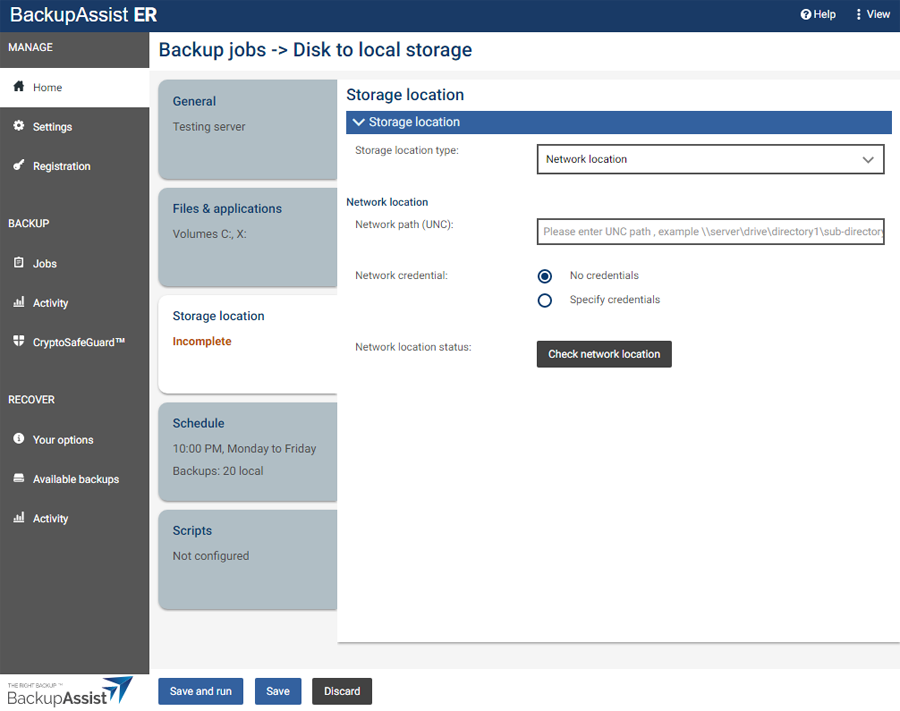
- Select and fill in the Storage location tab.
- Use the Backup disk field to select the drive letter assigned to the disk you are backing up to.
- Select Check disk to confirm that the selected destination is attached and accessible.
- Use the Network path (UNC) field to enter the server or device name. For example \\qnap01\F\backups\fileserver01
- If the destination requires authentication, select the Network credential option Specify credentials, and enter the credentials into the fields provided. This is the username and password that BackupAssist ER will use to access the network location or NAS device.
- Select Check network location to confirm that the selected destination is attached and accessible.
- Select the Schedule tab.
- Use the Perform backup once at to schedule a daily backup at the selected time.
- Use the Perform backups at the following times section to schedule multiple backups each day at the selected times.
- Use the Retention scheme section to change the number of backups that should be kept.
- Configure Scripts (optional).
- Complete the backup job.
- Save and run - will save and then start the backup job. The job's progress screen will open.
- Save - will save the job, which will run at the time scheduled.
- Discard - will cancel the job. All information entered will be lost.
This will open the Disk to local storage screen and display the 4 tabs used to configure the backup job.
Fill in the General sections as follows:
Encryption
If you tick the box next to Encrypt the local backup, the local backup will be encrypted using the password entered into the fields provided.
Encrypted backups do not currently support VM Instant Boot
Note: You will be prompted to enter this encryption password if you ever use this backup for a recovery. It is therefore important that you keep a copy of your password in a safe place, as we cannot retrieve passwords if they are lost or forgotten.
The volume with the server's operating system C: BMR (bare-metal recovery) is selected by default. Use the tick boxes to change the selected volumes as required.
To ensure that the backup can be used for a bare-metal recovery, tick Select items for a bare-metal recovery. This will select all volumes needed for a full server recovery, for example, if a server has a system boot volume and an operating system volume.
If there are SQL, Exchange or Hyper-V servers on the selected volumes, all volumes required to create application-consistent backups of those VSS applications will also be selected. These selections should not be changed.
Note: BackupAssist ER requires full volume selections because only full volume backups can be used for a bare-metal recovery. This means your system is cyber-resilient and protected against system failures, hardware loss, virus infections and ransomware.
Choose the type of backup destination used from the Storage location type field.
If you chose Local disk:
If you chose Network location:
Configure how many times a day and at what times the backup job will run.
Review the schedule selections as follows:

The Scripts tab is used to add scripted processes to the backup job. Scripts support an extensive range of variables, and can be run before a backup and after a backup (successful or failed).
Before adding custom scripts, please check BackupAssist ER and the documentation to see if the function you require is already available.
To learn more, see the Adding backup scripts guide.
To complete the backup job, select one of the following options:
Note: The first time the job runs will be a full backup of all data. This will take longer than subsequent backups which will be incremental. For this reason, you may want to run the first backup at a time that minimizes the impact on other backup jobs and your network.
Congratulations - your backup job has been created and will run as scheduled.
Remember to set up Backup notifications for the job's backup reports, and perform a test recovery using one of the job's backups to ensure your selections provide the protection you require.