BackupAssist File Protection replicates data to a backup media and takes advantage of technologies such as backup-with-history replication and single-instance store.
Mirror mode
The Mirror mode creates an exact replica of your files and folders (as the data appeared at the time of the backup). Only one backup will be stored at any one time, with no history available. This mode is useful for situations where a primary drive or a server needs to be replaced quickly.
Backup-with-history mode
The Backup-with-history mode creates a new set of backup data in a uniquely named folder each time a backup job runs. Backups created using this mode are useful for maintaining version history over a long period of time. For backup jobs to disk-based destinations, you can even configure backup storage options to make sure that disk space on the backup destination is properly utilized.
BackupAssist’s File Protection includes a powerful replication technology called single-instance store. With single-instance store enabled, only one unique copy of each file is stored on your backup device. Single-instance store backups are similar to incremental backups, because only new or modified files are actually copied to your backup device each time a backup runs. This saves time and disk space.
The single-instance store process is completely transparent. If no previous backup exists on the backup device, BackupAssist will perform a full backup of the selected data. For subsequent backups, only new or modified files will be backed up, but a new and complete backup set will appear on your backup device. This backup takes no more space than the new and modified files that were copied there.
If you view the backup destination, it will look as if a full backup was performed – refer to the backup report to confirm if a single-instance store is working correctly.
To learn more about hard links, see our hard links article.
Note: File Protection backups cannot use single-instance store when the backup is saved on a ReFS formatted destination. This means all of the data will be backed up each time the backup job runs.
How to create a File Protection backup job
Launch BackupAssist and follow the steps outlined below:
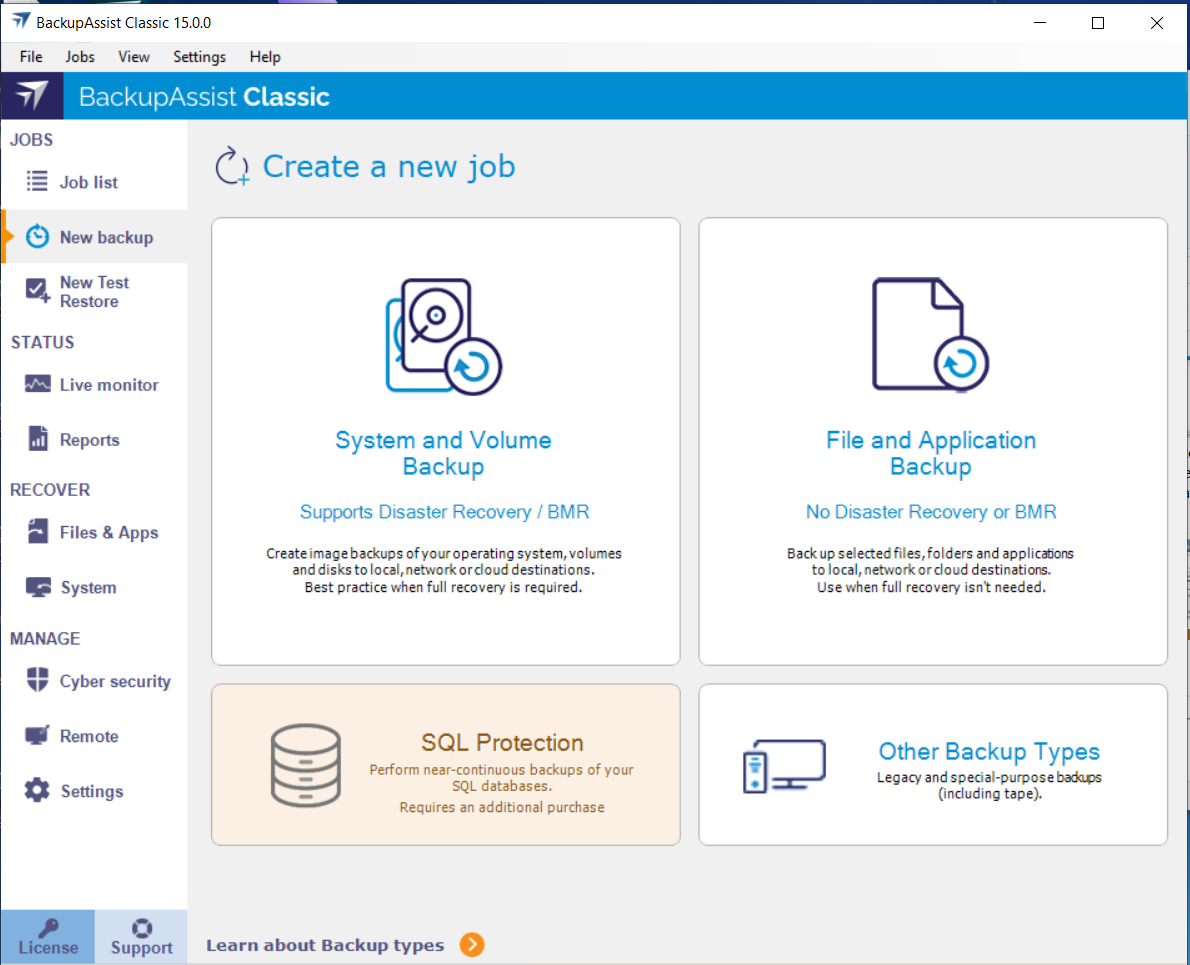
- Under the JOBS navigation menu, select Create new tab.
- Select File and Application Backup.
- Selections.
This step is used to select the data and applications that you want to back up. Any VSS applications detected will be displayed here as application directory containers. - Destination media.
This step is used to select the type of media that you want to back your data up to. This step’s name will change to the media type selected, when you click Next.
You can select from Removable media, Local media, Local network and Cloud. To learn more about the different Cloud storage providers, see Cloud Backup. - Select a media for your backup destination.
- Select Enable BitLocker encryption if you want to encrypt your backup. BitLocker encryption is available on supported versions of Windows Server for External disk and RDX drive destinations. To learn more, see BitLocker Encryption guide
- Click Next.
- Schedule.
This step is used to select when (days and times of the week) and how you want the backup job to run, and how long you would like the backup to be retained for. A selection of pre-configured schedules, called schemes, as well as a custom scheme, can be selected. - The schemes available will depend on the type of destination media selected in step 5.
- Clicking on a scheme will display information about the schedule used.
- Set up destination.
This step is used to configure the location of the media selected in step 5. The options presented will change with the type of media selected.
If you are using a Cloud backup, follow the steps in Cloud Backup for more detail. - If your media is removable, selecting Eject media after preparation will eject the media after the backup job has finished.
- If you selected BitLocker encryption, enter a password and any requested encryption information into the fields provided.
- If your media is a removable drive, you can select either Mirror or Backup-with-history for the replication mode. For non-removable media, the mode is determined by the scheme in step 6.
- Prepare media.
If you selected BitLocker, this step will allow you to prepare the Media for BitLocker and label it. If you are not using BitLocker, but are using external drives, we recommend Editing the backup job once you have created it and using the Prepare Media option to label each drive. - Let BackupAssist keep track of your media. Deselect this if you do not want to prepare and label your media.
- If the wrong media is inserted : Back up anyway and warn the users. This can be changed to Do not back up.
- If new or unrecognized media is inserted : Do not back up. This can be changed to Back up anyway and warn the users.
- Attach the removable drives. If you can only attach one media at a time, repeat the steps for each media.
- Change the label's description if you do not want to use the default description.
- Select the drive designation.
- Select Prepare.
- Notifications.
Once a backup job has completed, BackupAssist can send an email to inform selected recipients of the result. This email notification is enabled during the creation of the backup job, but you must also provide your mail server settings so that the notifications can be sent. To learn how to configure your mail server for BackupAssist, see Email server settings. - Select Add an email report notification.
- Enter recipients into the Send reports to this email address field.
- Enter recipients into the Also send reports to this email address field. You can then use the drop down list to select the condition under which the email is sent.
- If you want to know when a backup media has been changed, select Add an email reminder notification and enter the email addresses to send the notifications to.
- Click Next.
- Name your backup.
Provide a name for your backup job, and click Finish.
If you are using BitLocker encryption, the option will be Next. - Next steps.
This step will be available if you selected Enable BitLocker encryption. The Launch BitLocker encryption tool will be selected and it will open when you select Finish. When the tool opens, you can use it to encrypt the drives. This should be done before the backup job runs, because if an unencrypted drive is used for a BitLocker backup job, the job will fail.
If this is the first time you have created a backup job, you will be asked to provide a Backup User Identity. To learn more, see Backup user identity

An Exchange VM Detection tab will be available if you are backing up an Exchange VM guest. To learn more, see Hyper-V best practices .
Select the volumes, folders, files and applications that you want to back up, and click Next.

Follow these steps to select a media:

Schedule considerations:
To learn more, see Backup Schedules
Select an appropriate scheme, and click Next.

Destination considerations:
Note: It is important that you keep a copy of your password in a safe place, as we cannot retrieve passwords if they are lost or forgotten.
Destination check report
If you are using a Local media or a Local network destination, a Check destination button will be available to check your backup destination for any problems. After the checks have been completed, the results can be viewed by selecting the Report link. If you are using Removable media destinations, these checks are performed when you select Prepare on the Prepare Media step.
If you are using a Cloud backup, follow the steps in Cloud Backup for more detail.
Configure your backup destination, and click Next.

When BitLocker is enabled, these three selections are automatically selected on the Prepare media screen:
The drives listed are based on the backup schedule selected in step 6. Each drive will have a default label name based on your backup schedule, a drive designation drop-down and a Prepare button that is selectable when the media is attached.
To prepare the media:
The drives will be labeled and marked for encryption. Labeling the drive allows BackupAssist to check that it is being used on the correct day. For example, if you attach a USB drive on Tuesday but it is labeled Wednesday, BackupAssist will warn that the incorrect drive was detected. The encryption process will be initiated by the final backup job creation step. To learn more, see BitLocker Encryption guide.
Destination check report
Once the prepare process has completed, a Report link will appear next to the Prepare button. This link opens the Destination Check report, which will advise if any problems were detected with the backup media. For System Protection backups, if the Make media bootable with RecoverAssist was selected in the Set up destination screen, the report will also advise if the media can or cannot be made bootable.
Once all of the media have been prepared, select Next.

To enable email notifications:
To learn more, see Edit Job : Notifications
Note: After the backup job has been created, you can modify the notification's recipients, set additional notification conditions and include print and file notification types. To learn more, see Email address list
To learn about the BitLocker encryption tool, see BitLocker Encryption guide .
Your File Protection backup job has now been created.
Note: BackupAssist's reports can be used to review the results of each backup job. Backups should also so be checked by performing a test restore. Regular test restores should be part of your backup solution.
What's next
- To learn about monitoring backup jobs, see Monitor backups
- To learn about the other backup settings available, see Settings tab
- To learn about the options available when you edit a backup job, see Jobs list