 Belgium
 Canada
 Germany
 Italy
Italy France
 Spain
Spain United Kingdom
Running BackupAssist on Microsoft Server Core and Hyper-V Server
Windows Server Core is a minimal installation of Server 2008 that provides a low-maintenance server environment with limited functionality. This Operating System does not come with the full Windows User Interface. We provide a special installer to install BackupAssist on both Server Core and Hyper-V Server. This version of BackupAssist is much larger in size as it includes several prerequisites, such as the .NET framework, which do not come packaged with these Operating Systems.
- Installing BackupAssist on Server Core/Hyper-V Server
- Running BackupAssist on Server Core/Hyper-V Server
- Uninstalling BackupAssist from Server Core/Hyper-V Server
Requirements
- BackupAssist v8.0.0 and later (Server Core version)
- Server Core 2008 and Hyper-V Server
Installing BackupAssist on Server Core/Hyper-V Server
To install BackupAssist on Server Core/Hyper-V Server:
- Download BackupAssist Vx.x.x for Server Core (for the current version of BackupAssist) from http://www.backupassist.com/BackupAssist/download.php.
- Transfer the setup file to your Server Core/Hyper-V Server machine. The setup file will have the name setupBA_x.x.x.exe, where x.x.x is the current version of BackupAssist.
- From a command prompt window, change the directory to the location of the setup file.
- Enter setupBA_x.x.x.exe (where x.x.x is the version of the download ).
- Press Enter to begin the installation process.
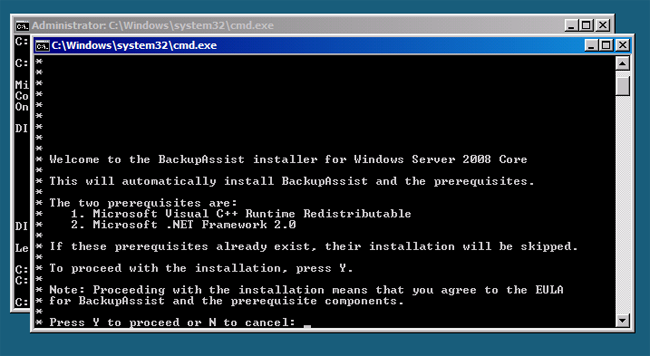
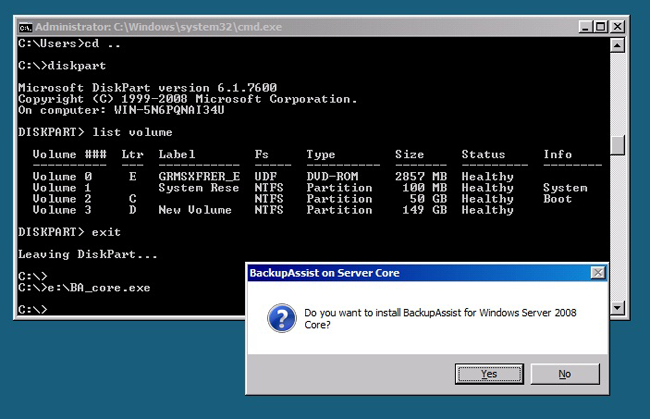
- After the installation package has been extracted, you will be asked to confirm that you want to proceed with the installation. Press Y and then hit Enter.
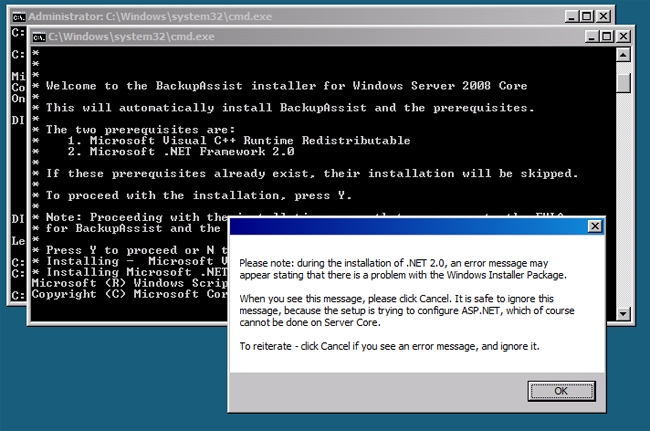
- A warning should appear notifying you that you will encounter an error during installation. The reason for this is that ASP.NET is not packaged on Server Core and the attempt to start it has failed. This error can be ignored. Click OK to start the install process.
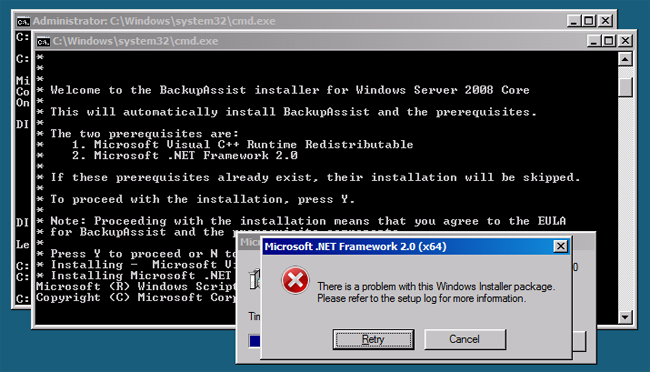
- When the error mentioned in step 6 occurs click Cancel.
- Usually installation takes between 5 and 10 minutes. Unfortunately, you will not be able to view the progress of the install. If the installation process has not completed after 15 minutes, the installation may have stalled, in which case you should try again or contact the BackupAssist support team for assistance.
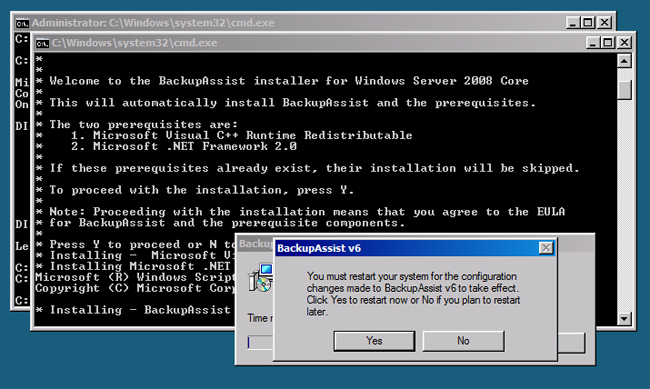
- Once installation is complete, you will be prompted to restart your server, which has to be done in order to use BackupAssist.
Running BackupAssist on Server Core/Hyper-V Server
After rebooting your system, you can run BackupAssist as follows:
- By default BackupAssist is installed in the following location:
- 32-bit systems: C:\Program Files\BackupAssist vX
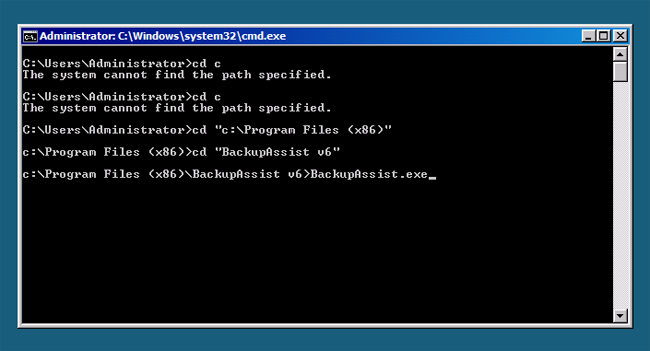
- 64-bit systems: C:\Program Files (x86)\BackupAssist vX
- Note: X represents the version of BackupAssist you have installed.
- From the command prompt window, change directory to the BackupAssist installation directory.
- Type BackupAssist.exe and press Enter to run BackupAssist.
- The BackupAssist splash screen should appear and begin to load the software.
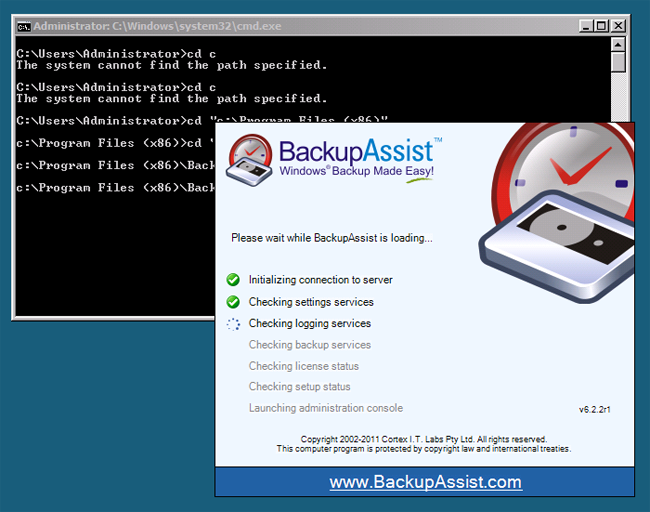
- Once BackupAssist has been fully loaded, you can proceed to configure backups as you would on any other Windows Operating System.
Uninstalling BackupAssist from Server Core/Hyper-V Server
To uninstall BackupAssist from a Server Core/Hyper-V Server, complete the following:
- First, you need to record some details from the Windows registry. From a command prompt window enter regedit and press Enter:
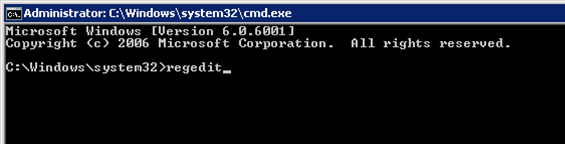
- The Windows Registry Editor will load. Expand the registry tree on the left and locate the following entry:
HKEY_LOCAL_MACHINE\SOFTWARE\Wow6432Node\Microsoft\Windows\CurrentVersion\Uninstall\
There should be a list of ID/keys under this entry. - Click on each key and look for a 'Display Name' in the right hand window that reads 'BackupAssist vX' (where X is the version number of BackupAssist you have installed).
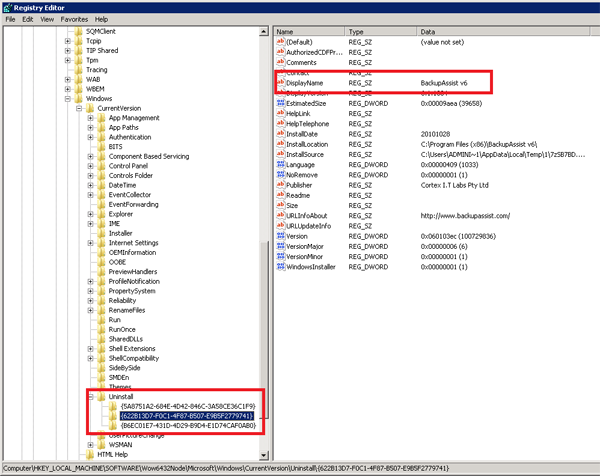
- Once you have found the key associated with BackupAssist, write it down or copy it to the Windows clipboard. The key required in the example below is {622B13D7-F0C1-4F87-B507-E9B5F2779741}.
- Return to the command prompt window and enter msiexec /i <key> (where <key> is the key you copied from the registry during the previous step). In the example above, the command would be as follows:
msiexec.exe /i {622B13D7-F0C1-4F87-B507-E9B5F2779741}
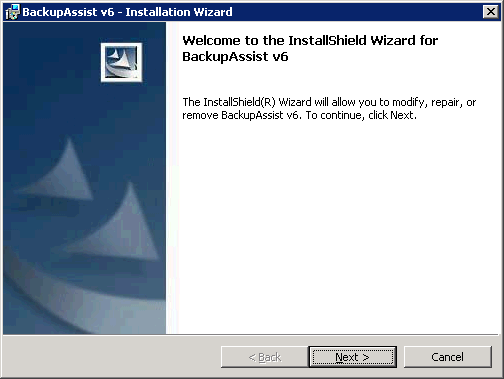
- You should see the regular installation wizard. Click Next on the first screen and then select Remove to initiate the uninstall process.
- Once the uninstall process completes, BackupAssist will have been completely removed from your system.
If you have any additional questions on the information above, or have other concerns you would like us to address, please email us at support_at_backupassist.com
Kind regards,
The BackupAssist Team

