In another blog article we discuss why we recommend using a dedicated “backup user account” to connect BackupAssist 365 to Microsoft 365 / Office 365.
Here, we go through the steps on how to do this. Please note, this method is preferred because:
- Better security – the backup user can be assigned a special complex password that is only used in BackupAssist 365 and is never given to users.
- No licence is required for the backup user – therefore it won’t cost anything.
- Using a special backup user minimises the possible throttling that may be experienced on heavy usage. In the example above, if O365 throttles on a per-user basis, Fred would experience slower performance while a backup is running.
How to set up the backup user account for backing up Office 365 mailboxes
Follow these instructions:
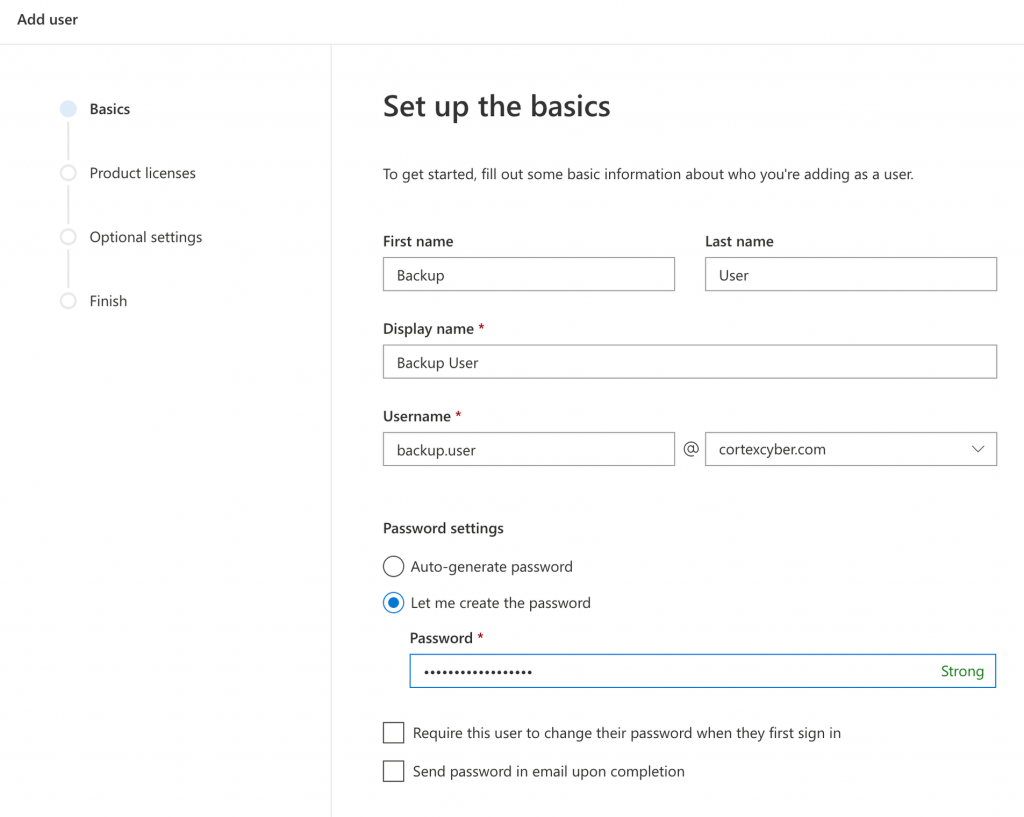
- Create a new user in Office 365, as shown in the screenshot below. You can call the user anything you want, but we recommend something that will be easy to remember.
- Create a password at the time of setting up this user.
- Make sure both checkboxes at the bottom are unchecked. If you require the user to change the password, BA365 will be unable to login.
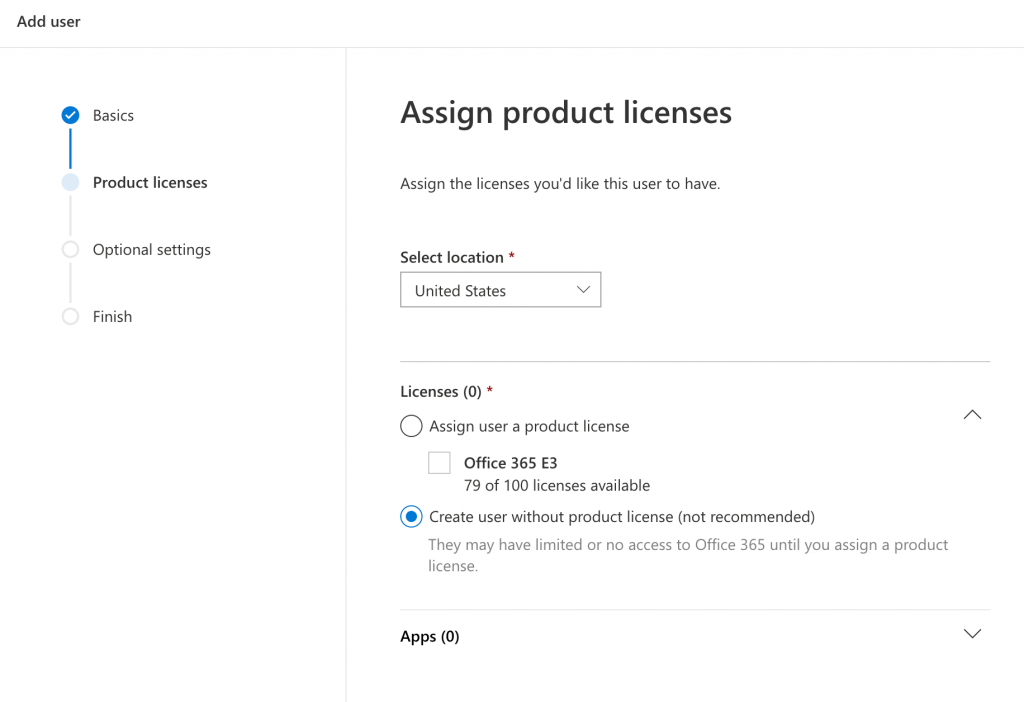
2. Create the user without a license. This is so you don’t have to pay for an unnecessary license.
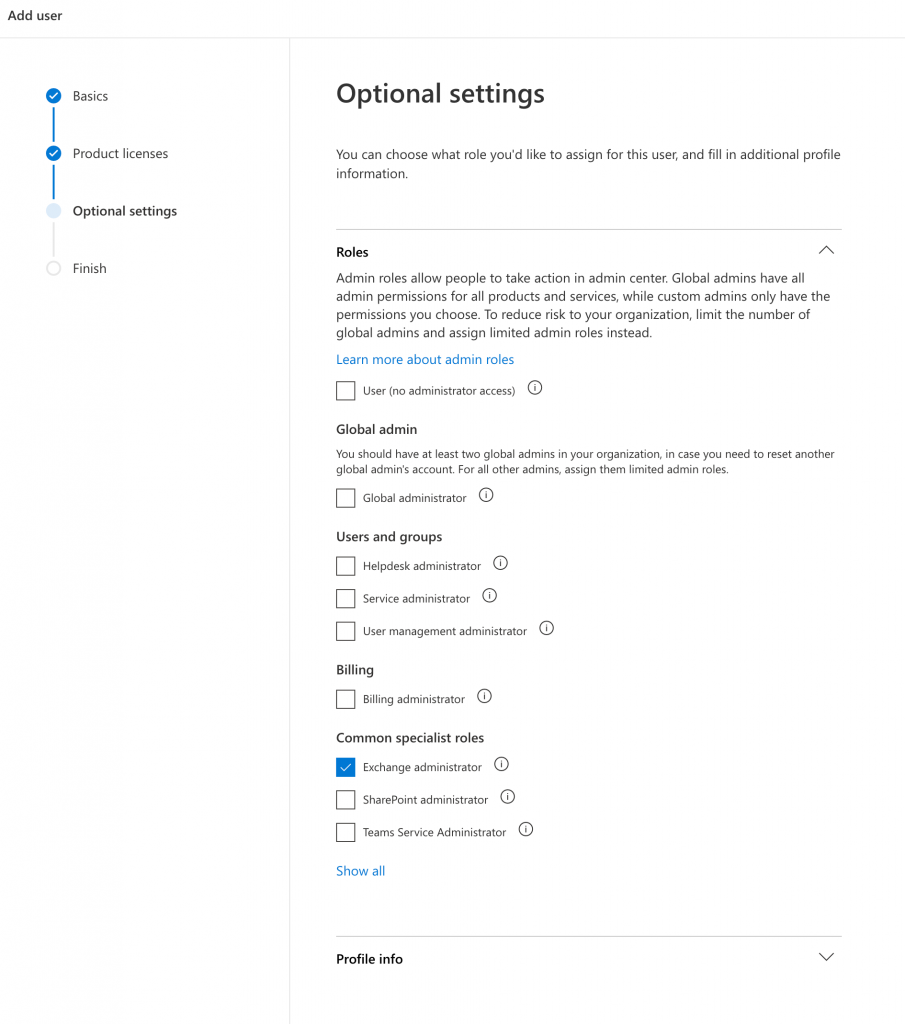
3. Set the role to Exchange administrator. To do this, uncheck the “User” checkbox and then check “Exchange administrator”. This role is required to allow the user to back up multiple mailboxes. (Note: if you also wish to back up SharePoint documents with the same user identity, also check the “SharePoint administrator” role. Full details are on this page.)
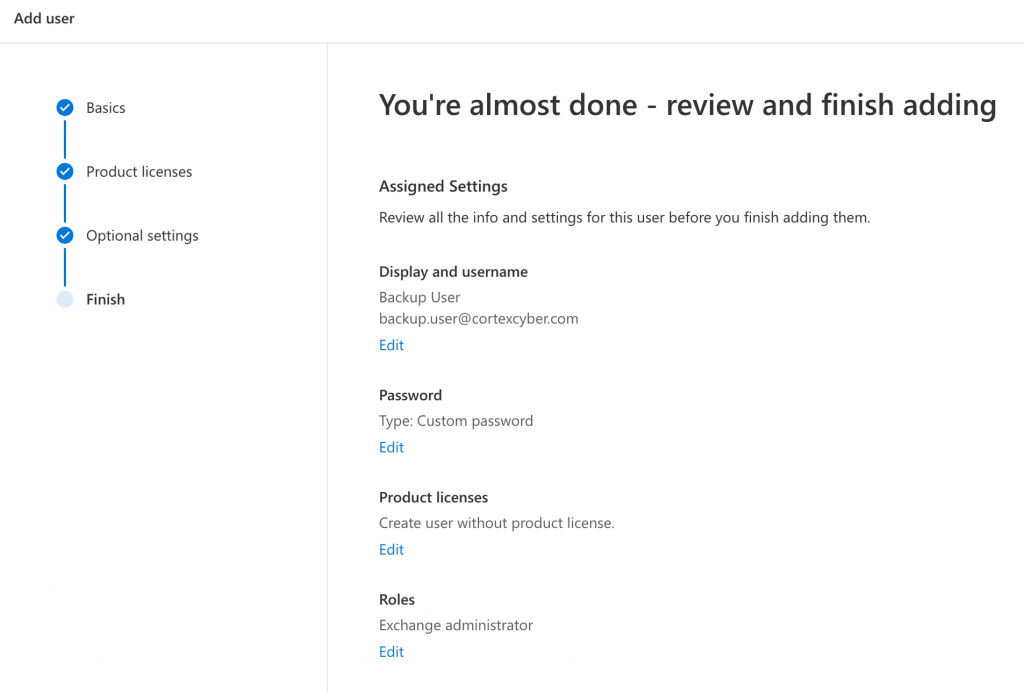
4. Confirm the settings as shown
5. Highly recommended: turn on multi-factor authentication. Even though this is an account that users will not log into, we still recommend that you turn on multi-factor authentication. Please refer to Microsoft’s article on how to enable MFA in Microsoft 365 / Office 365.
How to configure BackupAssist 365 to work with your new Backup User.
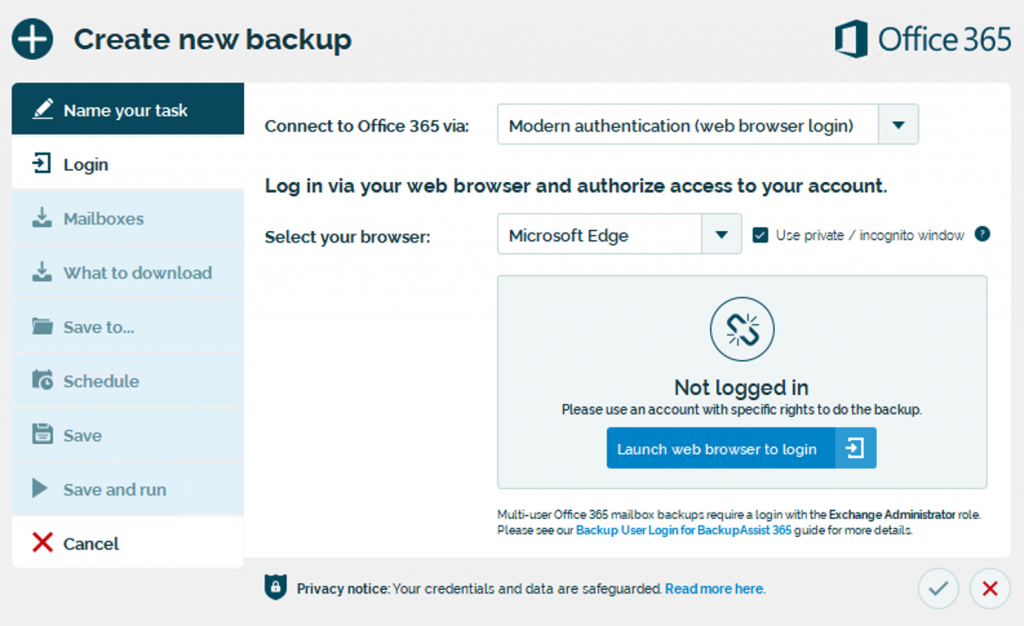
BackupAssist 365 supports logging in with Modern Authentication, and that is now the preferred method to connect to Microsoft 365 / Office 365.
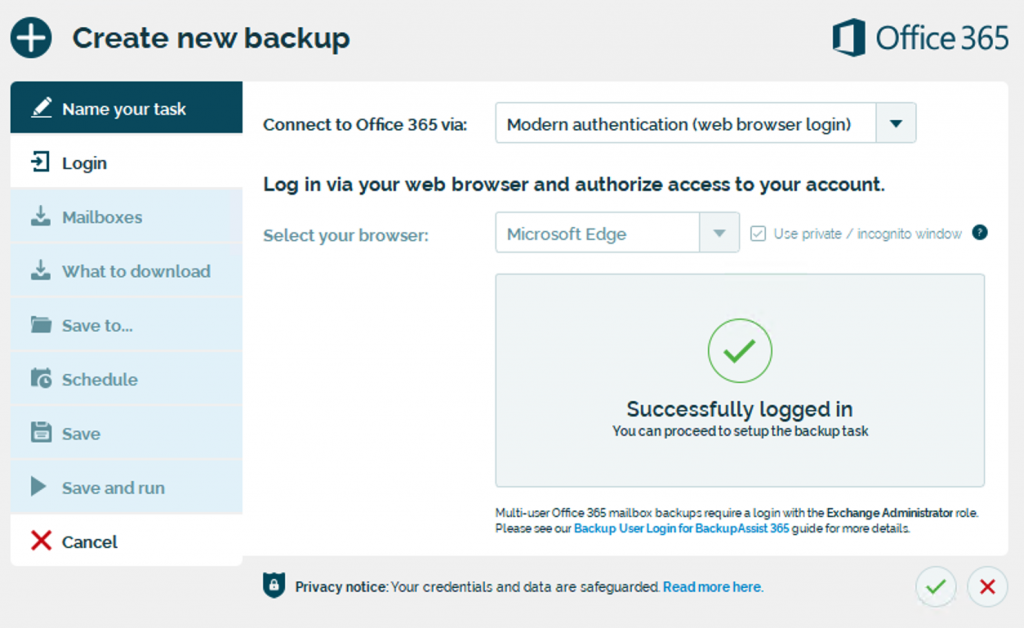
1. When setting up your new backup, use the default setting of “Modern authentication” as shown. Click the blue button to launch the web browser to log in.
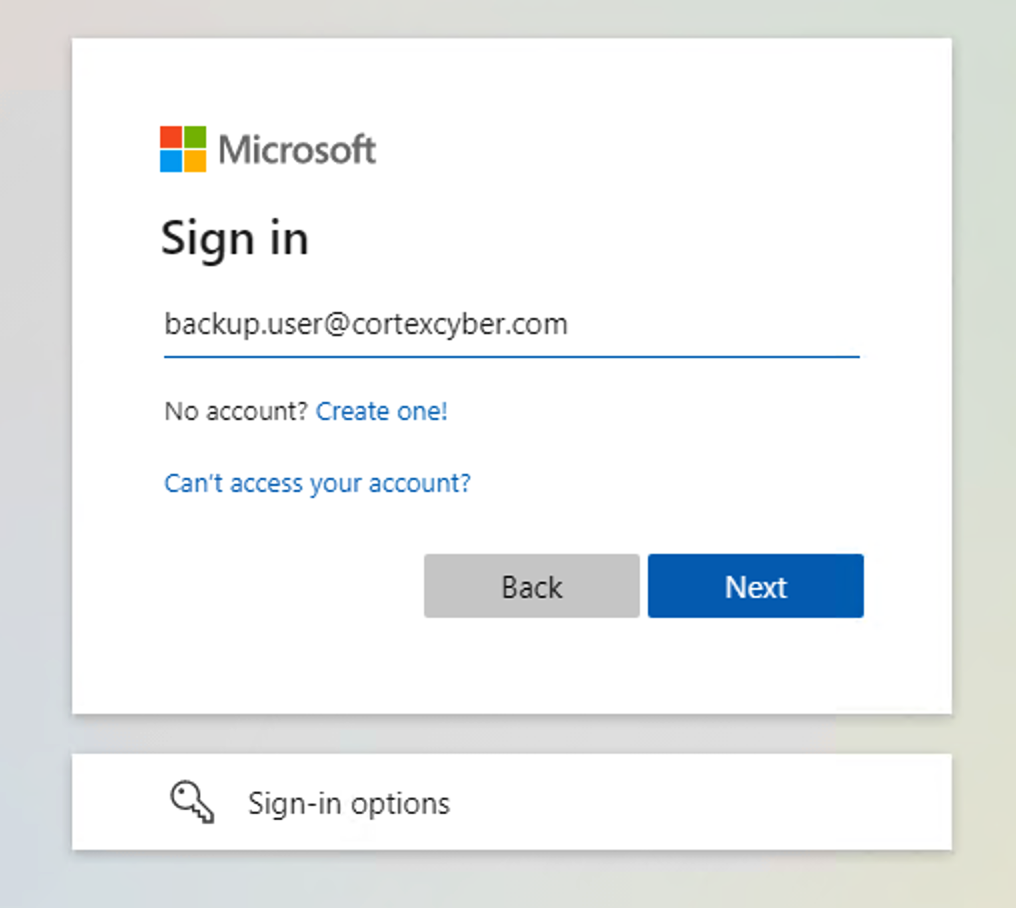
2. Enter the email address of the user you just created.
3. Enter the password.

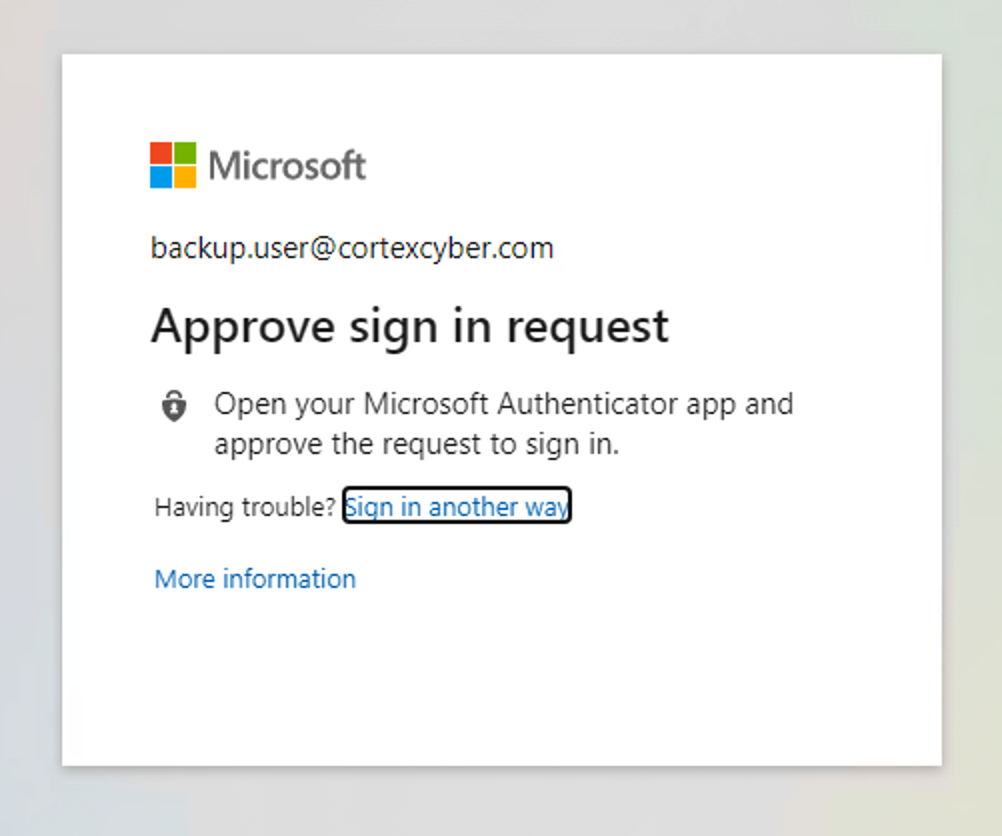
4. Approve the sign in via your multi-factor method.
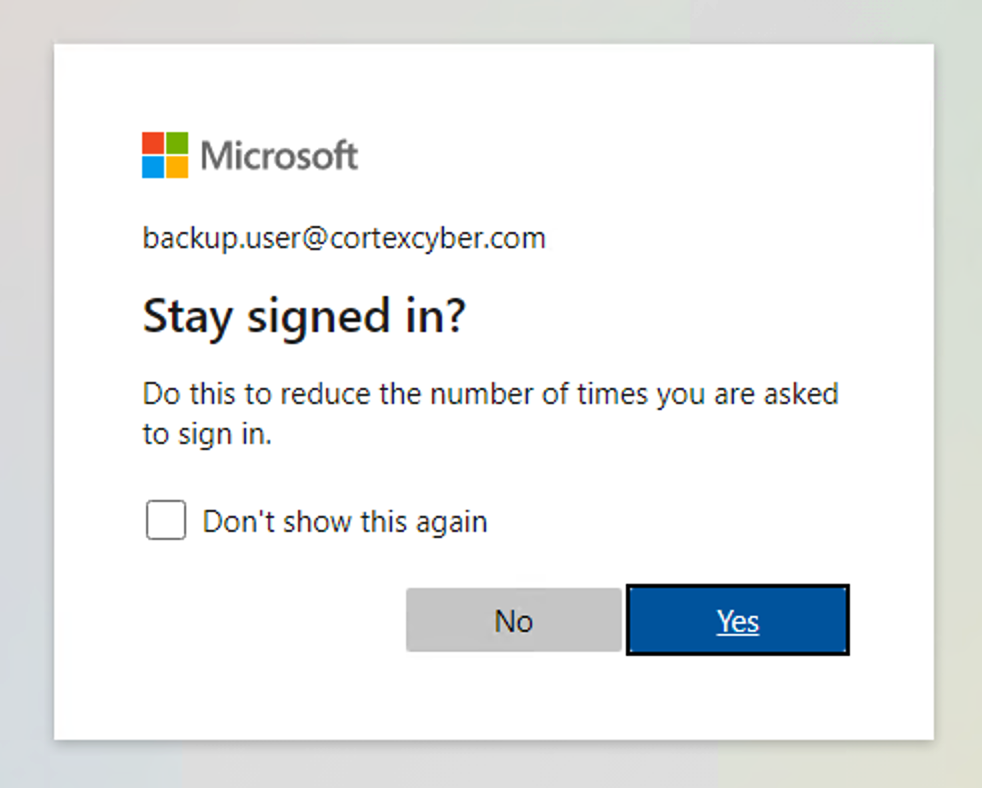
5. It doesn’t matter whether you choose Yes or No at this screen.
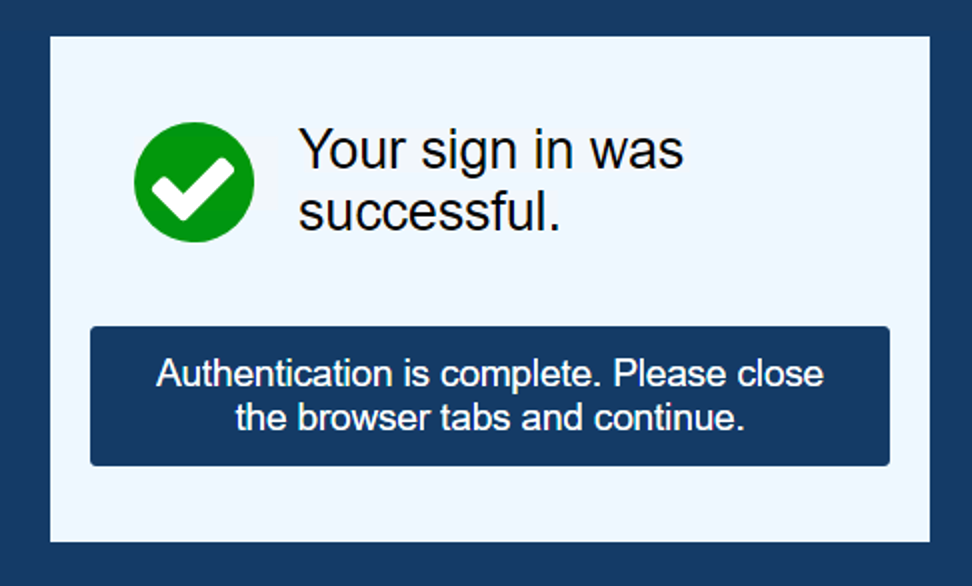
6. You’ll see a confirmation in the web browser window.
7. BackupAssist 365 will now store the tokens and you can proceed with the rest of the setup.
Security note
You authenticate to Office 365 via a web browser. This is known as oAuth authentication. After you have logged in, an oAuth token is stored within BackupAssist 365 task, stored securely encrypted on disk. These credentials are never included in any diagnostics file that you send to our technical support department.
Image credit: Photo by Ethan Hoover on Unsplash
Article last updated: 31 May 2021.