TL;DR summary
When restoring or importing PST files to live mailboxes in Microsoft 365 (Exchange Online), we can recommend two different choices, depending on your use case.
- Multiple mailboxes – for mass importing of many PST files.
- Single mailbox – uploading a specific mailbox.
This article looks at the first scenario – how to mass upload multiple PST files into Office 365. A future blog article will explain the second scenario.
How to import multiple PST files into Office 365
The tools and methods outlined here are provided by Microsoft, and comprehensive documentation is available from Microsoft at this link. We have taken the standard instructions and simplified them here.
 |
Note: This doco is based on https://docs.microsoft.com/en-us/microsoft-365/compliance/importing-pst-files-to-office-365?view=o365-worldwide |
-
To create import jobs one of the following must be true:
- You have to be assigned the Mail Recipients role in Exchange Online. By default, this role is assigned to the Organization Management and Recipient Management roles groups. Or
- You have to be a global administrator in your organization.
Decide which is more appropriate for your organization, and assign the relevant role to the user that will be importing the PST files.
- Also, the Import-Export permission must be assigned.
- Sign-in to Microsoft 365 admin centre => Exchange Admin Center
-
Expand Roles
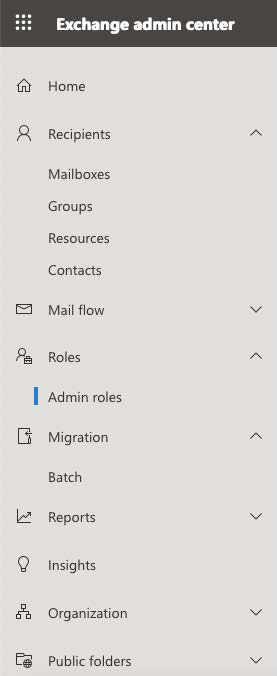
- Click Admin roles
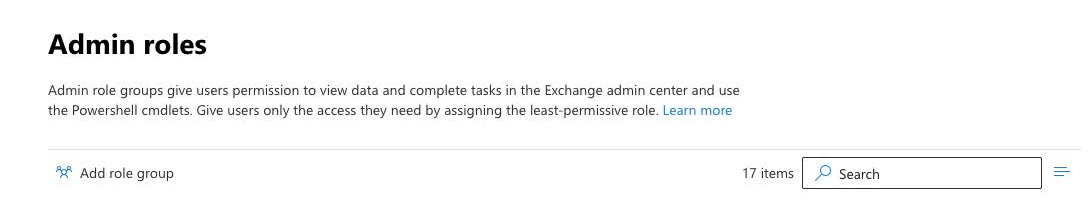
-
Add role group
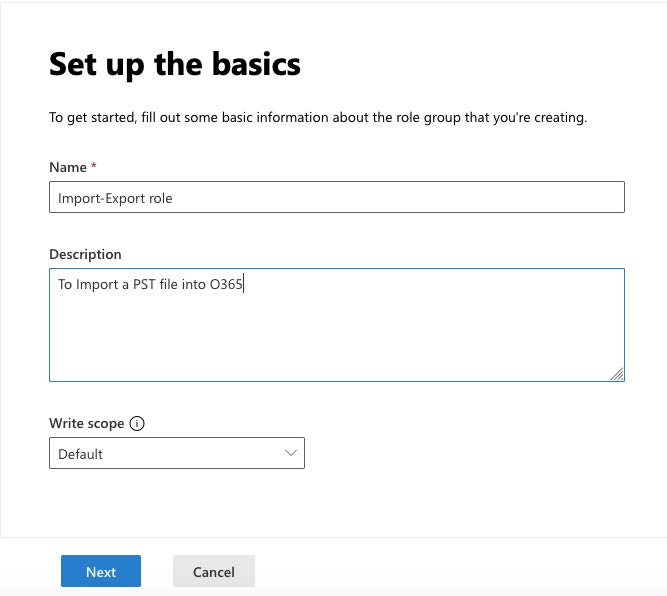
- Fill in the fields with some descriptive information and click Next.
-
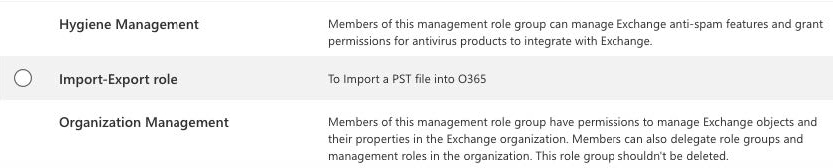
In the Add permissions screen, a search field should be visible. Type “import”, and the selectable option should now be “Mailbox Import Export”,
select it and click Next.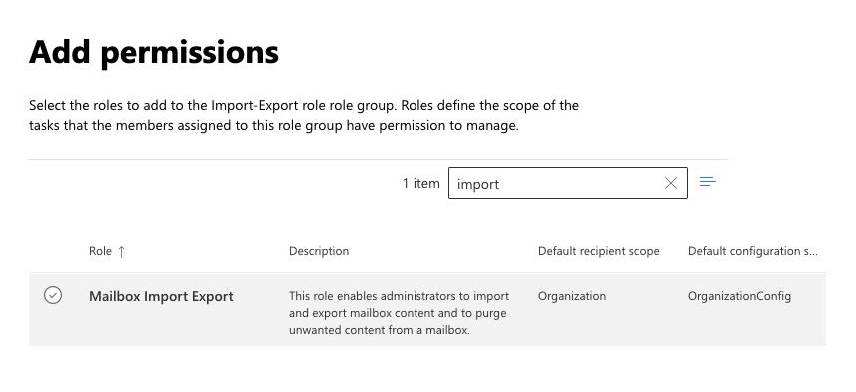
-
Assign the permission to a user
and click Next.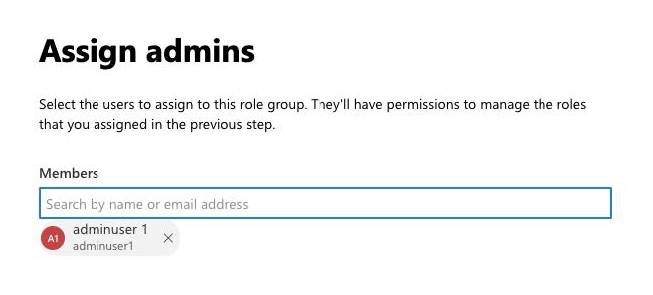
-
Review the role group and confirm the changes by clicking “Add role group”.

-
The new Admin role should now be visible
-
Add role group
-
Open https://protection.office.com and sign-in as the import user. Expand the Information governance option, click Import,
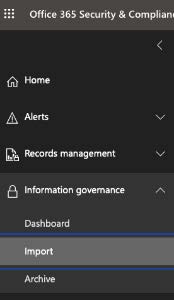
then “Import PST files” should be visible
- Click Import PST files, then “New import job”.
-
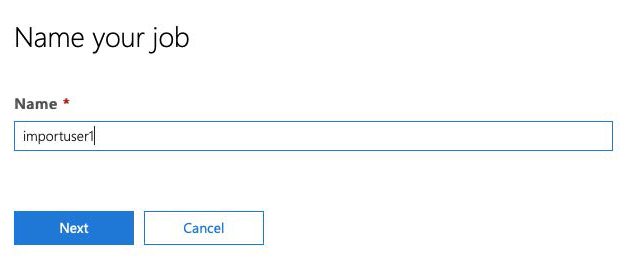
Provide a descriptive name for your job. Note there are limitations that affect what the job can be called.
-
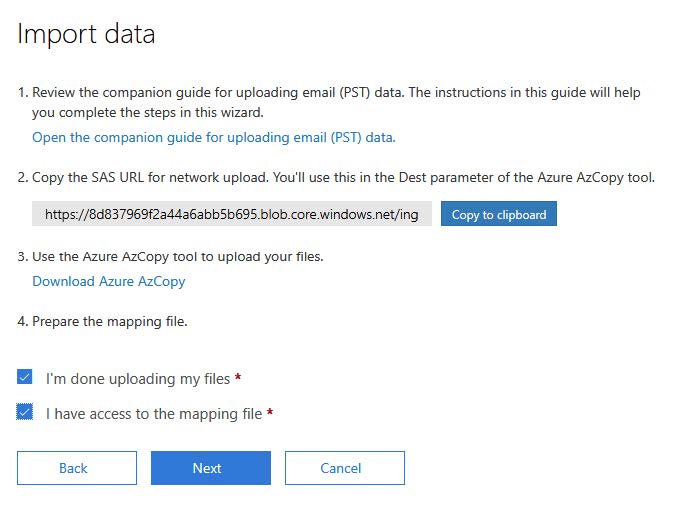
Next, the data must be imported.

-
For the data import step, Microsoft has prepared an additional companion guide you can follow to assist in uploading the PST data files. It is available for download from the Import data screen.

- Install the Azure AzCopy application, available from the Import data screen, under ‘3. Use the Azure AzCopy tool to upload your files.’
-
Launch the “Azure AzCopy” application
-
Execute this command to upload the PST file for import:
The following table describes the AzCopy.exe parameters and their required values. The information you obtained in the previous step is used in the values for these parameters.
Table 1
Parameter Description Example /Source: Specifies the source directory in your organization that contains the PST files that will be uploaded to Office 365. Be sure to surround the value of this parameter with double-quotation marks (“”). /Source:”\\FILESERVER01\PSTs” /Dest: Specifies the SAS URL that you obtained in
Step 1.
Be sure to surround the value of this parameter with double-quotation marks (“”).
Note: If you use the SAS URL in a script or batch file, you need to watch out for certain characters that need to be escaped. For example, you have to change % to %% and change & to ^&.
Tip: (Optional) You can specify a subfolder in the Azure Storage location to upload the PST files to. You do this by adding a subfolder location (after “ingestiondata”) in the SAS URL. The first example doesn’t specify a subfolder. That means the PSTs are uploaded to the root (named ingestion data) of the Azure Storage location. The second example uploads the PST files to a subfolder (named PSTFiles) in the root of the Azure Storage location./Dest:”https://3c3e5952a2764023ad14984.blob.core.windows.net/ingestiondata?sv=2012-02-12&se=9999-12-31T23%3A59%3A59Z&sr=c&si=IngestionSasForAzCopy201601121920498117&sig=Vt5S4hVzlzMcBkuH8bH711atBffdrOS72TlV1mNdORg%3D”
Or
/Dest:”https://3c3e5952a2764023ad14984.blob.core.windows.net/ingestiondata/PSTFiles?sv=2012-02-12&se=9999-12-31T23%3A59%3A59Z&sr=c&si=IngestionSasForAzCopy201601121920498117&sig=Vt5S4hVzlzMcBkuH8bH711atBffdrOS72TlV1mNdORg%3D”/V: Outputs verbose status messages into a log file. By default, the verbose log file is named AzCopyVerbose.log in %LocalAppData%\Microsoft\Azure\AzCopy. If you specify an existing file location for this option, the verbose log will be appended to that file. Be sure to surround the value of this parameter with double-quotation marks (“”). /V:”c:\Users\Admin\Desktop\Uploadlog.log” /S This optional switch specifies the recursive mode so that the AzCopy tool copies PSTs files that are located in subfolders in the source directory that is specified by the /Source: parameter.
Note: If you include this switch, PST files in subfolders will have a different file pathname in the Azure Storage location after they’re uploaded. You’ll have to specify the exact file pathname in the CSV file that you create in Step 4./S /Y This required switch allows the use of write-only SAS tokens when you upload the PST files to the Azure Storage location. The SAS URL you obtained in step 1 (and specified in /Dest: parameter) is a write-only SAS URL, which is why you must include this switch. A write-only SAS URL won’t prevent you from using the Azure Storage Explorer to view a list of the PST files uploaded to the Azure Storage location. /Y -
If executing the command on the command-line and not part of a script, in the “se” fragment of the Destination url, replace ‘%3A’ with ‘:’ and the PST import should then commence.

-
A mapping file is required to direct a PST file into an intended account and destination folder. The mapping file is a CSV format file. For example:
Workload,FilePath,Name,Mailbox,IsArchive,TargetRootFolder,ContentCodePage,SPFileContainer,SPManifestContainer,SPSiteUrlExchange,,test.user@testorg.local.pst,testuser1@rarenerds.com,FALSE,/imported_pst_file,,,, -
Once you’ve prepared your mapping the file, and the PST files have finished uploading, we can proceed to commencing the import.
-
Select the mapping file for upload and validate it.

If it passes validation the filename will be coloured green.
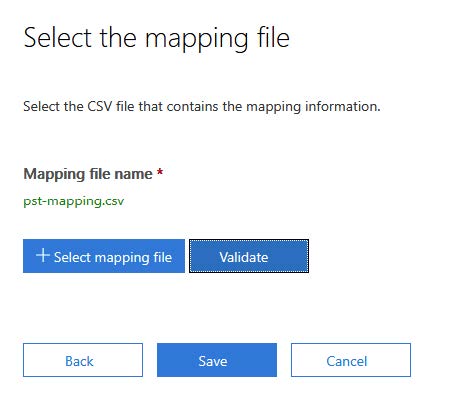
-
Click Save and the Import will start.
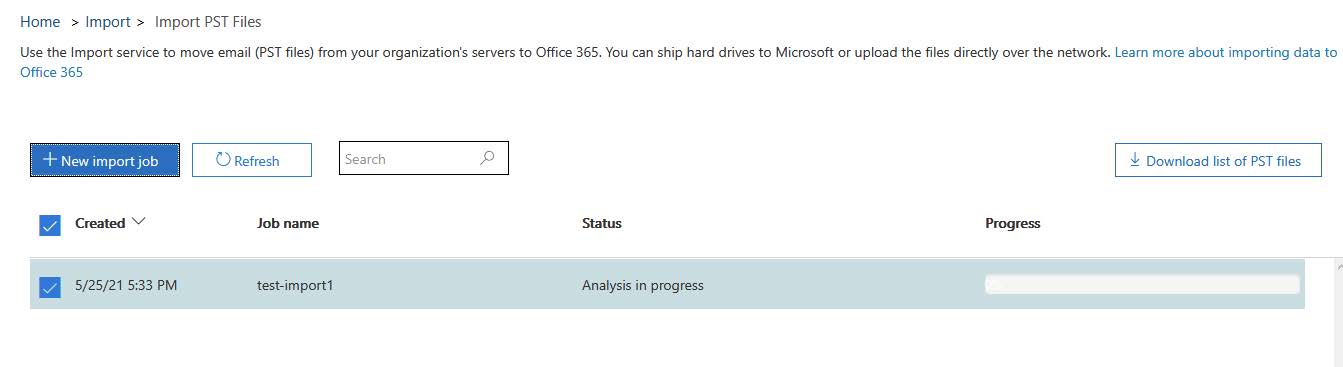
-
Once the analysis is complete, click on the import job and more detail will be displayed

- If there are no errors, click on Import to Office 365 at the top of the screen.
-
There is an opportunity to filter data before it is imported to the mailbox.

-
In our example we want to import all of the data.
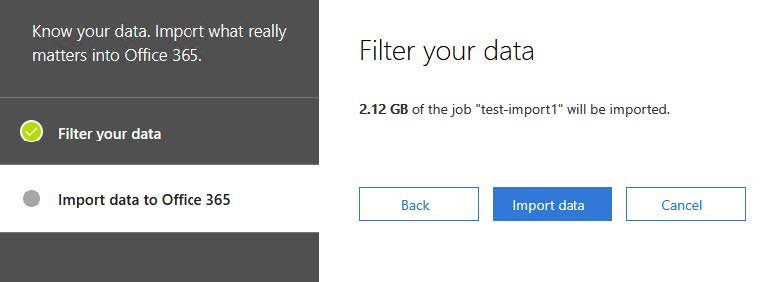
-
After clicking Import data the job will be submitted
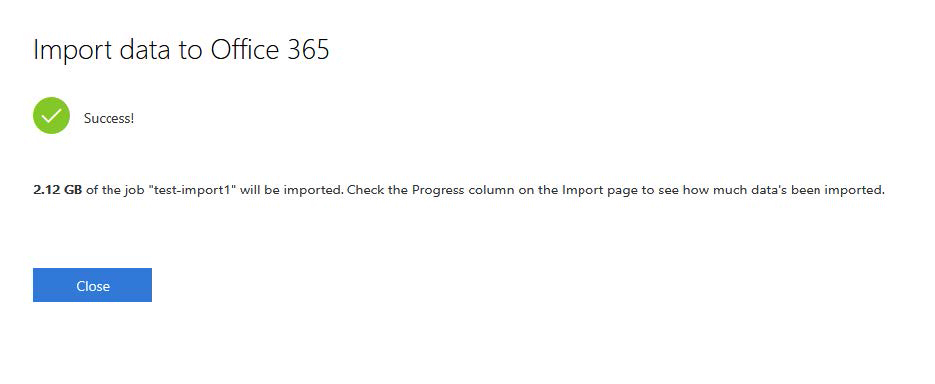
-
Click Close and the job summary status will be displayed.

-
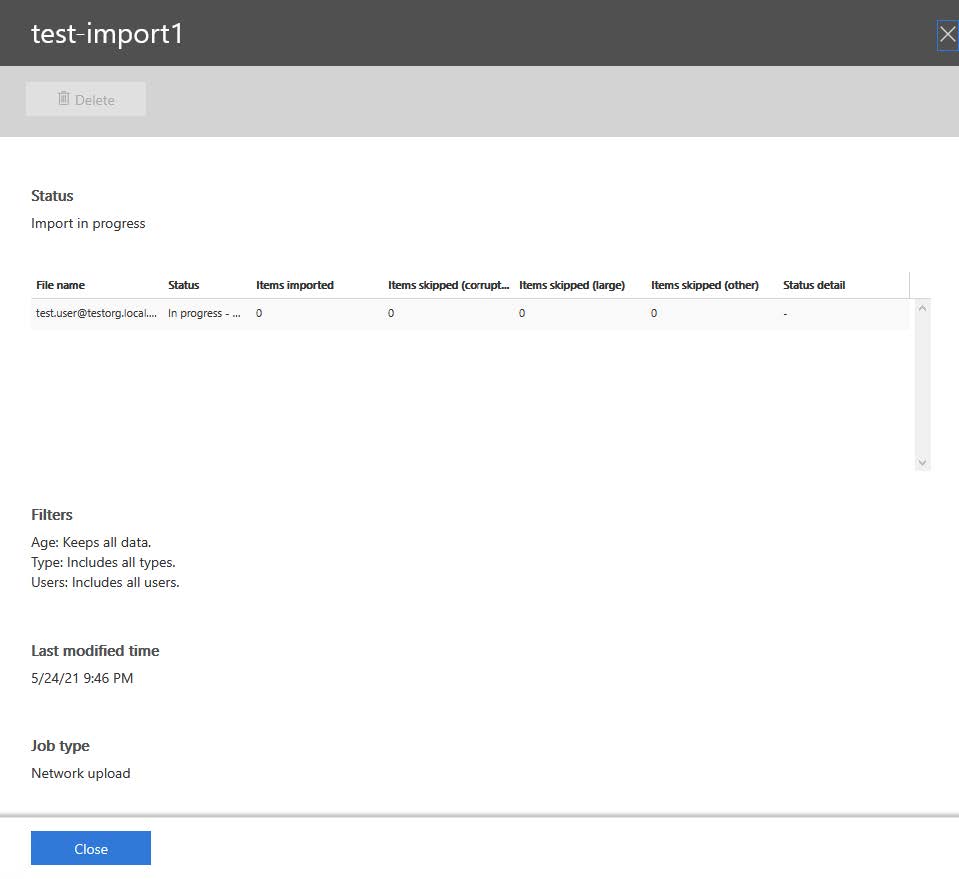
Click on the job for more detail about the progress of the import.
What about importing a single mailbox?
If you only have a single mailbox to import or restore, then the instructions above will seem very complicated.
There’s a much easier way – to use the BackupAssist 365 restore console. We’ll cover this in next month’s blog.