If you’ve got a lot of business data, your first backup to the cloud can be a real pain. It can chew up your bandwidth for days, slowing down work.
That’s where backup seeding comes in. Instead of sending large volumes of data across the internet, seeding is when you simply make a physical backup of that data and either send it to your cloud vendor, or take it there yourself.
Since every backup after your first is incremental, this means you save yourself time and bandwidth by performing that first backup on premise. BackupAssist supports cloud seeding with WebDAV, and the process differs depending on if you’re using WebDAV as a private or public cloud solution.
When You Should Seed
You should consider seeding if the time required to back up all the data on your Cloud Backup’s first run would be too long and impact other processes. As stated above, this is largely going to depend on how much data you’re backing up – but you should also consider the performance of your connection.
A good rule of thumb is if that first backup job is going to take more than a day and impact your network during business hours, seeding should be considered as an alternative.
Seeding to Private Cloud
Basically, a private cloud is a remote server that is running a web server application with the WebDAV service enabled.
If you have set this up, the seeding process will simply involve you taking the seeded drive to the remote server, and copying that data to the same destination path defined in the backup job.
Seeding to Public Cloud
This is going to largely depend on the cloud provider. First, make sure your cloud provider supports WebDAV (a lot of them do). Then, you need to follow the provider’s instructions for seeding.
This is going to be a detailed process that may involve running commands, and will involve you physically posting a removable drive to the cloud provider so they can copy the data to the backup destination.
Using the BackupAssist Seeding Tool
BackupAssist’s seeding tool is incredibly easy to use. First, make sure the cloud destination is ready, and you’ve attached a removable drive.
When you create a Cloud Backup job, the information entered in the Destination step is used to create the cloud container when you select the Check destination button. To verify that the cloud container was created correctly, log into your cloud provider’s portal and confirm a container with the name provided is there.
Make sure your portable drive is a type that can be posted to your cloud provider, and that it meets your providers’ seeding drive requirements.
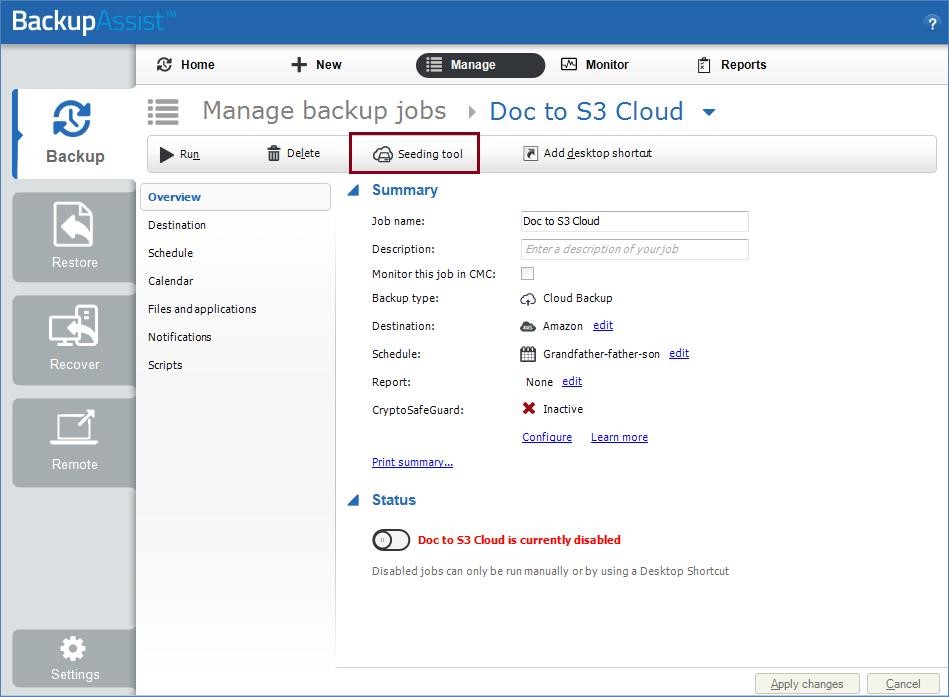
The Seeding Tool is available as an option in the Manage menu when Editing a Cloud Backup job. (Shown below)
Next Steps
For more details on the cloud seeding process, read our knowledge base article. For further reading on private cloud backup with BackupAssist, click here.