CryptoSafeGuard Scanner
Please visit BackupAssist CryptoSafeGuard for background on the feature.
CryptoSafeGuard has 2 core components:
- CryptoSafeGuard Shield
- CryptoSafeGuard Scanner
To configure the CryptoSafeGuard Scanner:
-
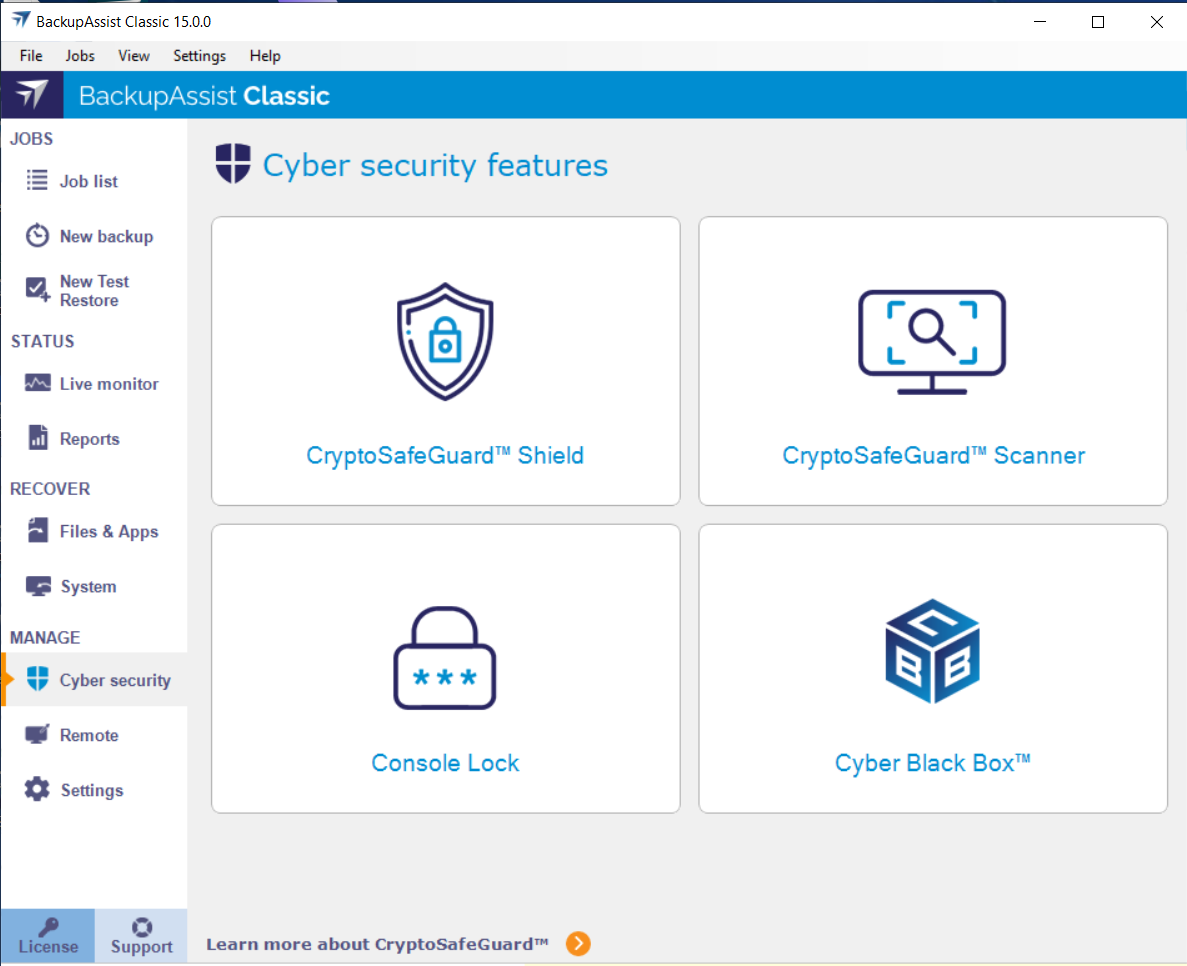
Under the Manage menu, select Cyber Security tab.
-
Select CryptoSafeGuard Scanner.
-
Make the required changes as outlined in the sections below.
Disabling and Enabling CryptoSafeGuard Scanner
On the CryptoSafeGuard Scanner screen, removing the tick from the enable box turns the Scanner off. Ticking the box turns the Scanner back on. The box affects the Scanner only.
If CryptoSafeGuard is disabled, all jobs will be automatically unblocked if they are currently blocked due to a potential ransomware infection.
SMS notification tab
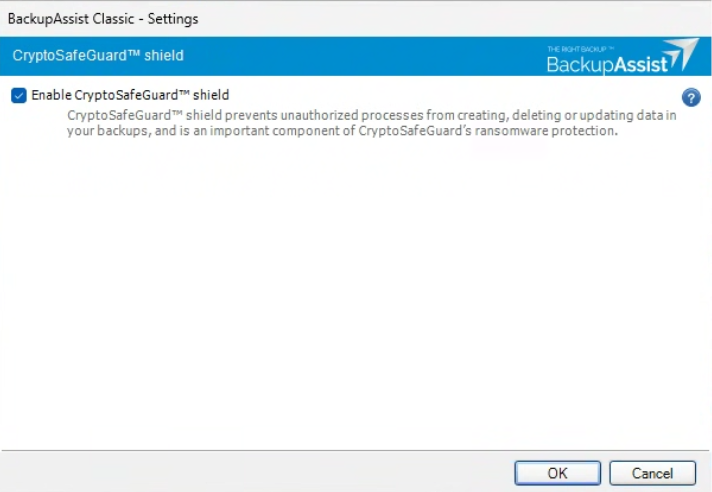
If you set up SMS notifications, SMS alerts will be sent when CryptoSafeGuard detects a possible ransomware infection.
SMS Number
To set up SMS notifications, simply enter the phone number that is to receive the notifications into this field using the standard international phone number format +<country code><mobile phone number>.
Additional message
Use this optional field to enter an identifier or description for this machine. This is especially useful if you manage a lot of servers and need to know exactly what server the message came from.
Send Test SMS
The Send Test SMS button will become active once a phone number has been entered in the correct format. Click Send Test SMS and a test message will be sent to that phone.
CryptoSafeGuard uses a third-party provider for SMS notifications. Click these links to view the provider's Privacy and Security information.
Whitelist tab
If you respond to a CryptoSafeGuard alert by whitelisting files, directories or file extensions, you can review and change your whitelist using the Whitelist tab. You can also add entries without an alert, but it is recommended that you use the alert list to inform your whitelisting decisions. All whitelisted files, directories and file extensions are excluded from CryptoSafeGuard's scans.
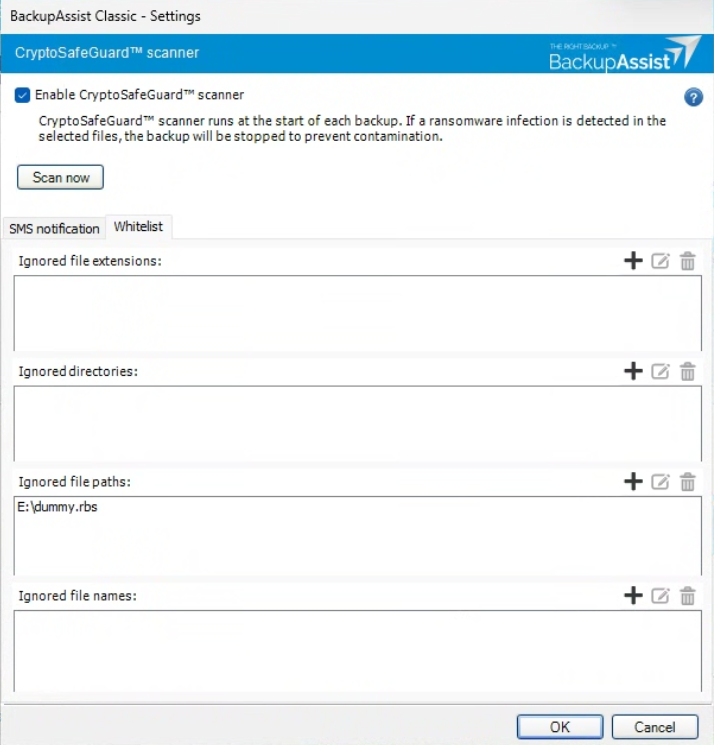
Four fields are used to manage the whitelist and each is explained below. Any changes to the whitelist applies to all backup jobs.
Ignored File Extensions
This field is used to manage whitelisted file extensions. Selecting Edit will allow you to manually edit the extension. Use the Delete button to remove the selected file extension. To add an extension, click the + Add button, type the file extension into the field provided and click Add again. Do not enter multiple extensions as a single entry, and do NOT include periods or wildcard symbols. For example, you would enter txt not .txt or *.txt.
Ignored Directories
This field is used to add and manage whitelisted directories. All files within the directory and its subdirectories will be excluded from CryptoSafeGuard's scans. Selecting Edit will allow you to manually edit the directory and its path, or browse to and select a new directory. Use the Delete button to remove the selected directory. To add a directory, click the + Add button, browse to the directory and click Add again.
Ignored File Paths
This field is used to add and manage whitelisted files using the file's path and name. Selecting Edit will allow you to manually edit the file name and path, or browse to and select a file in a different location. Use the Delete button to remove the selected file from the list. To add a new file, click the + Add button, browse to the file, select it and click Add.
Ignored File Names
This field is used to add and manage whitelisted file names with no file path. This allows you to whitelist a file that can be in different locations. For example, you could whitelist a file that is stored in a user profile. Selecting Edit will allow you to manually edit the file name. Use the Delete button to remove the selected file name. To add a file name, click the + Add button, type the file name into the field provided and click Add again.
Note
It is important to only whitelist files that create, or are expected to create, false-positive responses when the scan runs.
To learn more, see BackupAssist CryptoSafeGuard
Run a ransomware scan
The Scan Now button allows you to scan a system on demand for potential ransomware, and to whitelist any files that cause a false-positive response. This is useful when you first enable CryptoSafeGuard or run a new backup job because any false-positive detections can be actioned before they block all your backup jobs from running.
To run a manual scan:
-
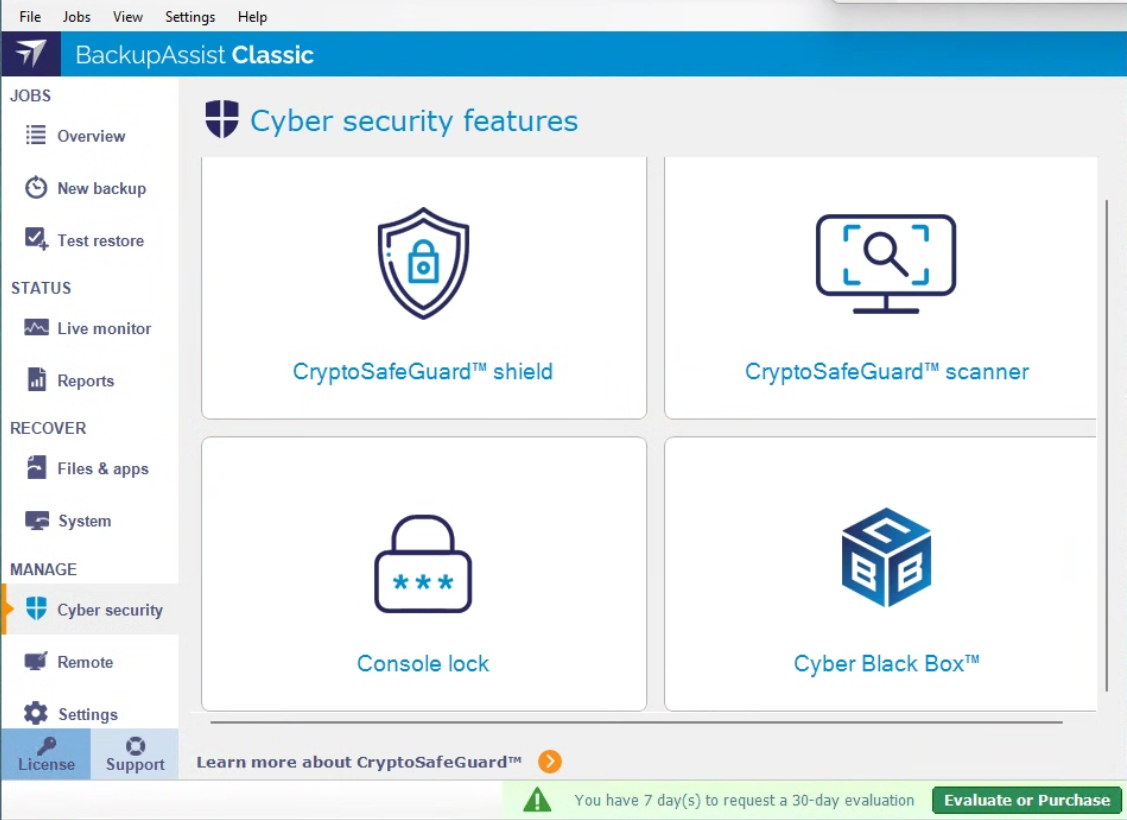
Select the BackupAssist Safeguard tab.
-
Select Scan Now.
-
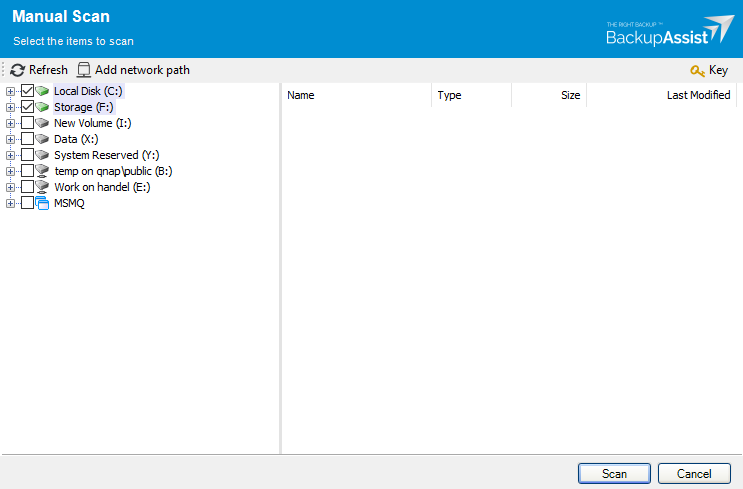
Select the drives and directories that you want to scan.
You should select all of the drives and directories that you plan to back up.
-
Click Scan.
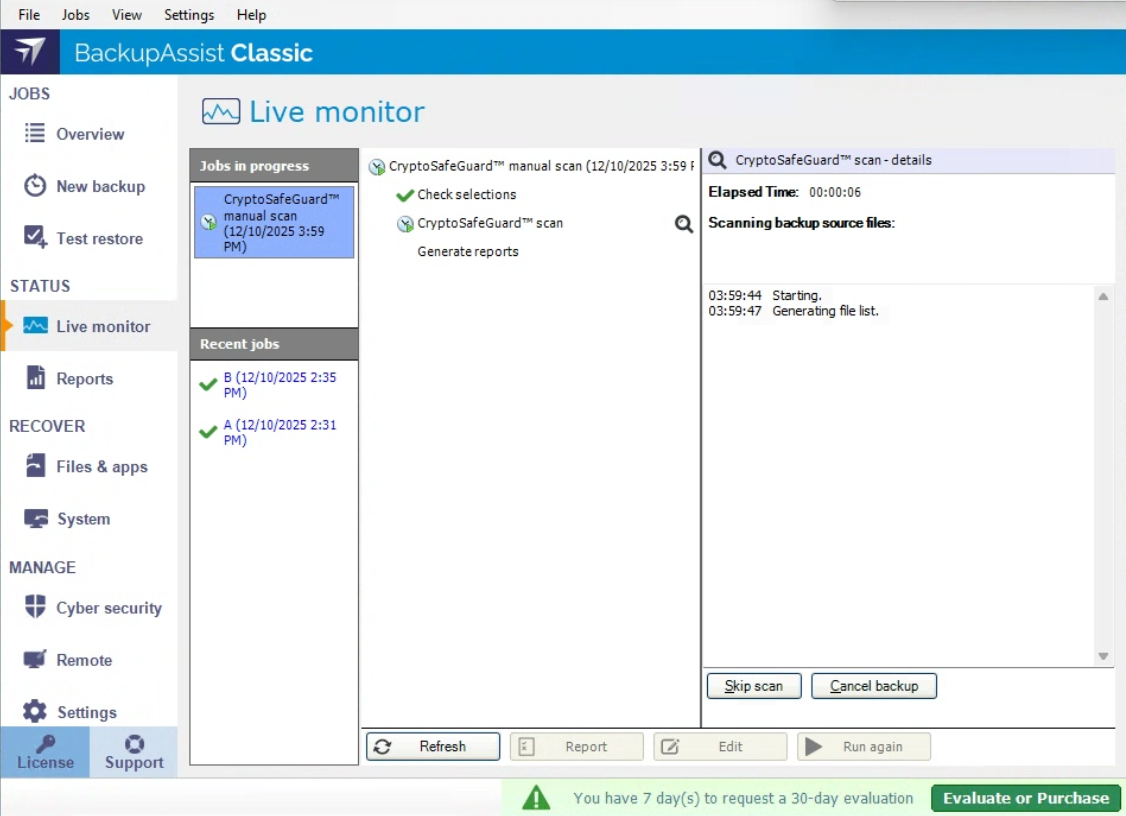
The scan will start and open the Monitor screen so you can see the scan's progress.
Note
During the grace period, you will only get warnings for flagged files. After 3 clean scans in a row the grace period will end, and any false positives or live detections will result in all backup jobs being blocked. If the backup selections are changed, the grace period will restart.
To learn more, see BackupAssist CryptoSafeGuard